FluentCRM Integration with Support Genix
Welcome to the Support Genix documentation for the FluentCRM integration! This guide offers detailed instructions for configuring FluentCRM integration within Support Genix. FluentCRM is a powerful WordPress plugin for email marketing automation. By integrating FluentCRM with Support Genix, you can streamline customer management, ensure seamless data flow, and automate customer engagement.
Benefits of Using FluentCRM Integration
- Automated Customer Data Sync: Automatically sync customer data from Support Genix tickets to FluentCRM, reducing manual input errors.
- Better Customer Segmentation: Segment customers based on ticket interactions to enhance targeted marketing campaigns.
- Enhanced Email Marketing: Trigger personalized email sequences when tickets are created, replied to, or closed.
- Unified Workflow: Combine marketing and support efforts with consistent customer information, ensuring a cohesive customer experience.
- External Site Flexibility: Utilize FluentCRM across multiple WordPress sites, streamlining operations for external and internal integrations.
Steps to Enable FluentCRM Integration
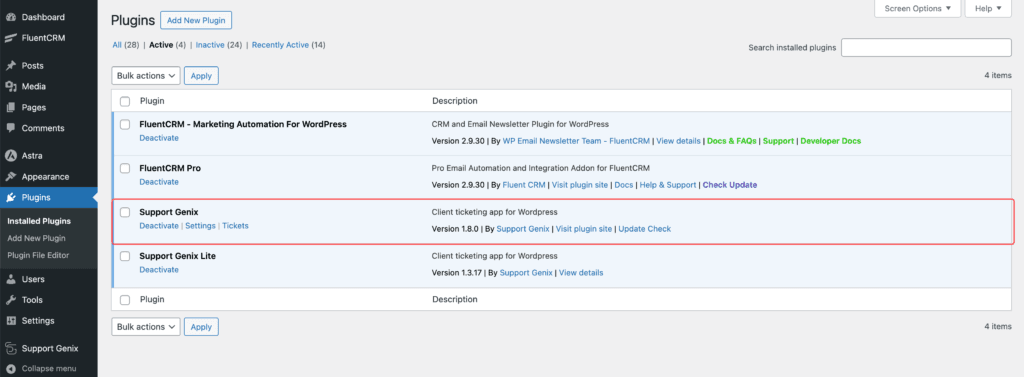
To enable FluentCRM integration with Support Genix, make sure that SupportGenix pro edition is activated on your website.
Step 1: Enable Same-Site Integration
To integrate FluentCRM on the same site as Support Genix:
- Navigate to FluentCRM Integration
Go to Support Genix > Settings > Integrations > FluentCRM. - Add a New Integration
Click the Add New button and configure the integration as follows:- Type: Select
FluentCRM in Same Site. - List IDs: Add the list IDs where you want customer data to be added. Separate multiple IDs with commas.
- Tag IDs: Assign tag IDs for the customer in FluentCRM.
- Contact Status: Choose the status for the contacts (e.g., Pending, Subscribed).
- Trigger Events: Select the events that trigger updates, such as Ticket Created, Ticket Replied, or Ticket Closed.
- Status: Toggle the switch to enable the integration.
- Type: Select
- Save and Test
Save the settings and create a ticket in Support Genix. Verify the customer details in FluentCRM.

Step 2: Enable External Site Integration
To set up FluentCRM integration for an external site, follow these steps:
Select External Site Type
- Navigate to Support Genix > Settings > Integrations > FluentCRM.
- Click the Add New button.
- In the Type dropdown, select FluentCRM in External Site.

Copy Webhook URL from External Site
- Log in to the external site where FluentCRM is installed.
- Navigate to FluentCRM > Settings > Incoming Webhooks.
- Create a new webhook and copy the generated Webhook URL.
Important Note
To integrate FluentCRM with an external site, you need the FluentCRM Pro version. The Incoming Webhooks feature is exclusive to FluentCRM Pro.
Last updated on March 15, 2026
Was this article helpful?
Powered by Support Genix