Easy Digital Downloads (EDD) Integration for Support Genix
Welcome to the updated Support Genix documentation for the Easy Digital Downloads (EDD) integration! This guide provides you with detailed instructions on setting up and managing EDD integration in the Support Genix plugin. With EDD, you can streamline customer support by displaying purchase details directly within tickets, enabling informed and efficient assistance.
Benefits of Using EDD Integration
✅ Immediate Purchase Insights: Access customer purchase history directly within tickets for informed responses.
✅ Seamless Workflow: Streamline support operations with automated access to EDD data.
✅ Enhanced Customer Experience: Tailor support based on purchase details, increasing customer satisfaction.
✅ Support Across Multiple Sites: Integrate EDD data from both the same and external sites.
✅ Quick Configuration: Effortlessly set up integrations to save time and boost efficiency.
Steps to Integrate EDD with Support Genix
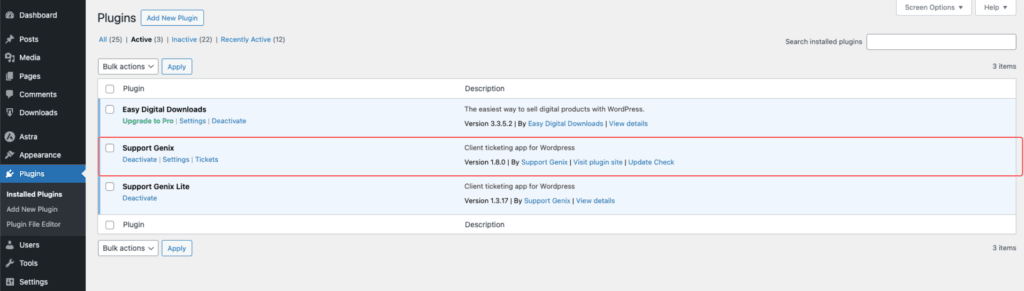
To enable EDD integration with Support Genix, make sure that Support Genix pro edition is activated on your website.
Step 1: Enable EDD Integration on the Same Site
- Navigation:
Go to WordPress Dashboard > Support Genix > Settings > Integrations > EDD. - Click the Add New button.
- Configure the following settings:
- Type: Select
EDD in Same Site. - Status: Toggle the switch to enable the integration.
- Show Order Details Button: Enable this option to display the order details button on ticket pages.
- Type: Select

- Once configured, when an EDD user creates a ticket after purchasing a product, the purchase details will automatically display on the ticket details page.

Step 2: Enable EDD Integration for an External Site
- Navigation:
Go to WordPress Dashboard > Support Genix > Settings > Integrations > EDD. - Click the Add New button.
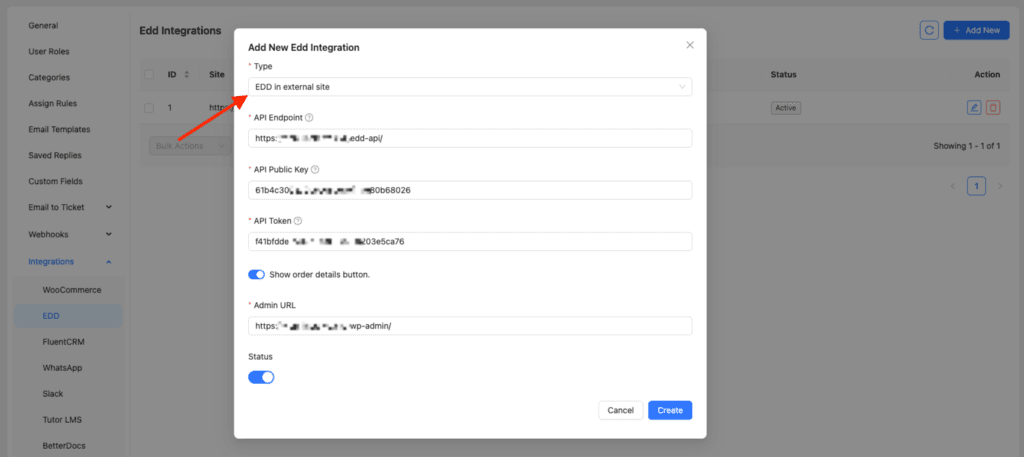
- Configure the following settings:
- Type: Select
EDD in External Site. - API Endpoint: Enter the external site URL with
/edd-api/appended (e.g.,https://example.com/edd-api/). - API Public Key & Token: Obtain these from the external site’s EDD settings (instructions below).
- Show Order Details Button: Enable this option.
- Site Admin URL: Add the external site’s admin URL (e.g.,
https://example.com/wp-admin/).
- Type: Select
Step 3: Generate API Keys on the External Site
- Navigate to External Site > Downloads > Tools > API Keys.
- Select a username and click Generate API Keys.
- Copy the API Public Key and API Token.
- Paste these credentials into the Support Genix EDD integration fields.
Notes:
- For external site integration, ensure API keys and admin URLs are correctly configured.
- EDD order data will now appear directly within ticket details, providing valuable insights for support agents.
Last updated on March 15, 2026
Was this article helpful?
Powered by Support Genix