Tutor LMS Integration
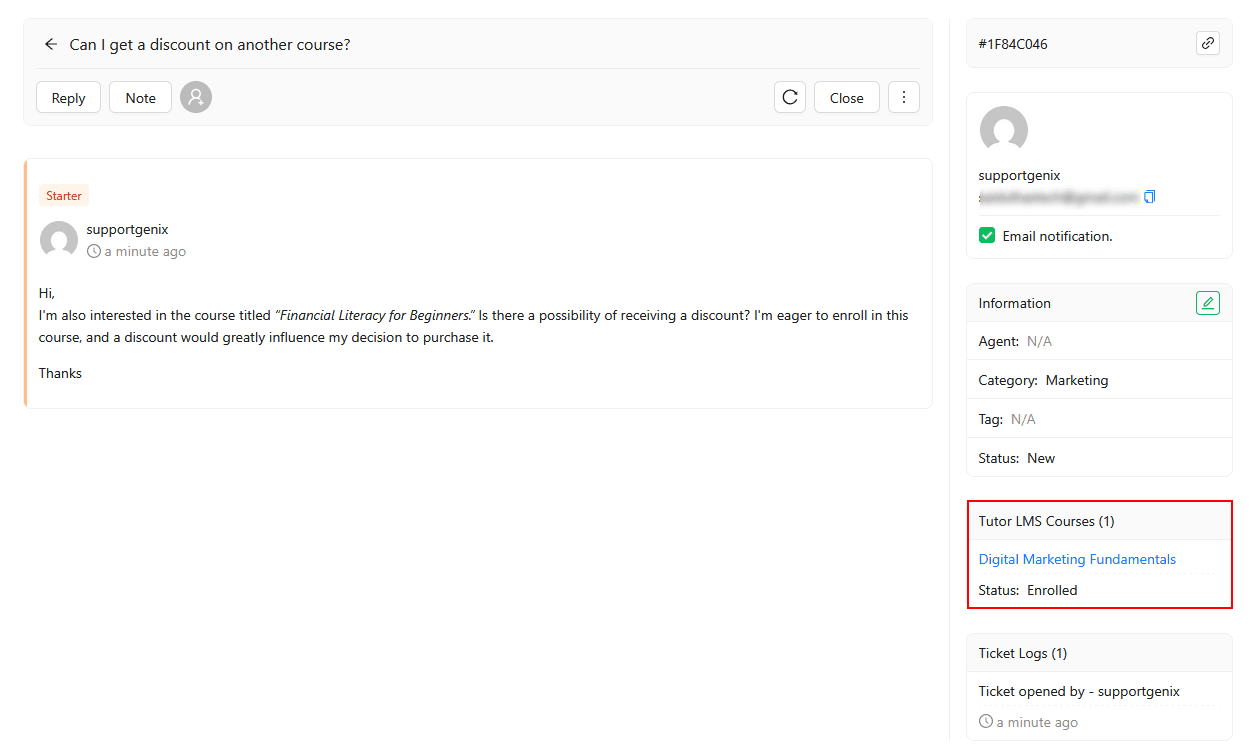
Welcome to the updated Support Genix documentation for the Tutor LMS integration! This guide will help you set up and utilize the Tutor LMS integration effectively. With Tutor LMS, a leading WordPress LMS plugin, you can manage and sell e-learning courses seamlessly. When integrated with Support Genix, this feature provides a detailed view of a user’s course purchase history, including course name and enrollment status, displayed directly on the Ticket Details page. This integration simplifies managing course-related queries and enhances customer support efficiency.
Benefits of Using Tutor LMS Integration ⭐
- 📘 Comprehensive Course Insights: Gain instant access to users’ course purchases, including course names and enrollment statuses, allowing support agents to deliver informed assistance.
- 🛠️ Streamlined Support Workflow: Centralize course-related data with support tickets for simplified query management, reducing response times.
- 💡 Enhanced User Experience: Enable support agents to provide accurate, contextually relevant support quickly, improving user trust and satisfaction.
Steps to Enable Tutor LMS Integration 🔧
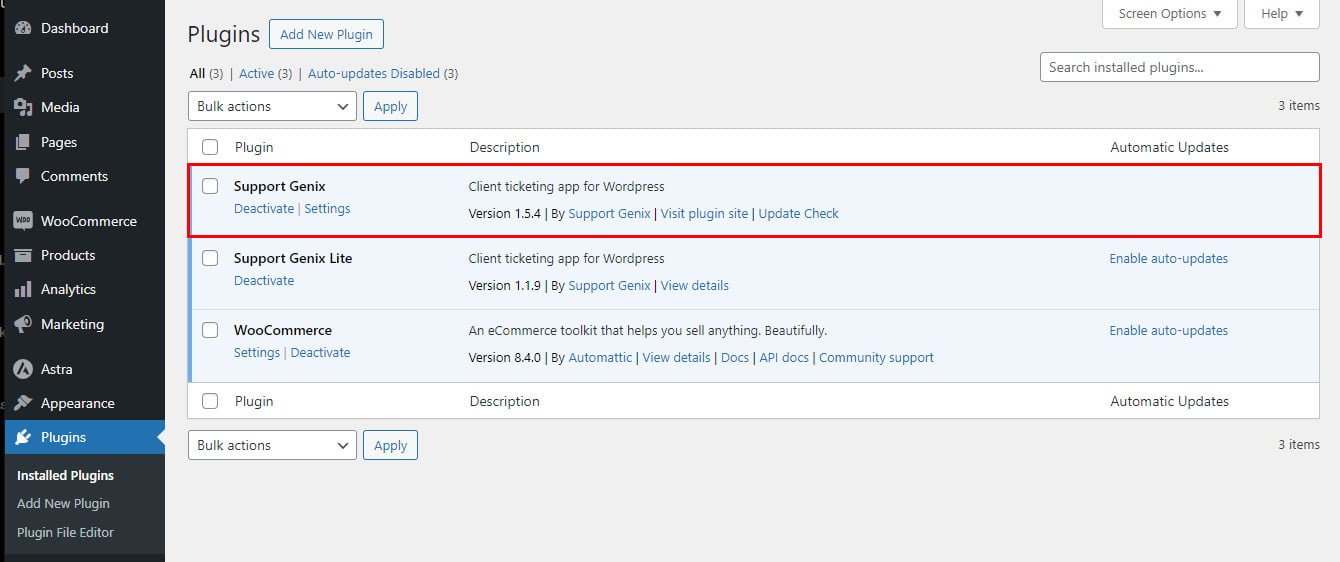
To enable Tutor LMS integration with Support Genix, make sure that Support Genix pro edition is activated on your website.

Step 1. Navigate to Integration Settings
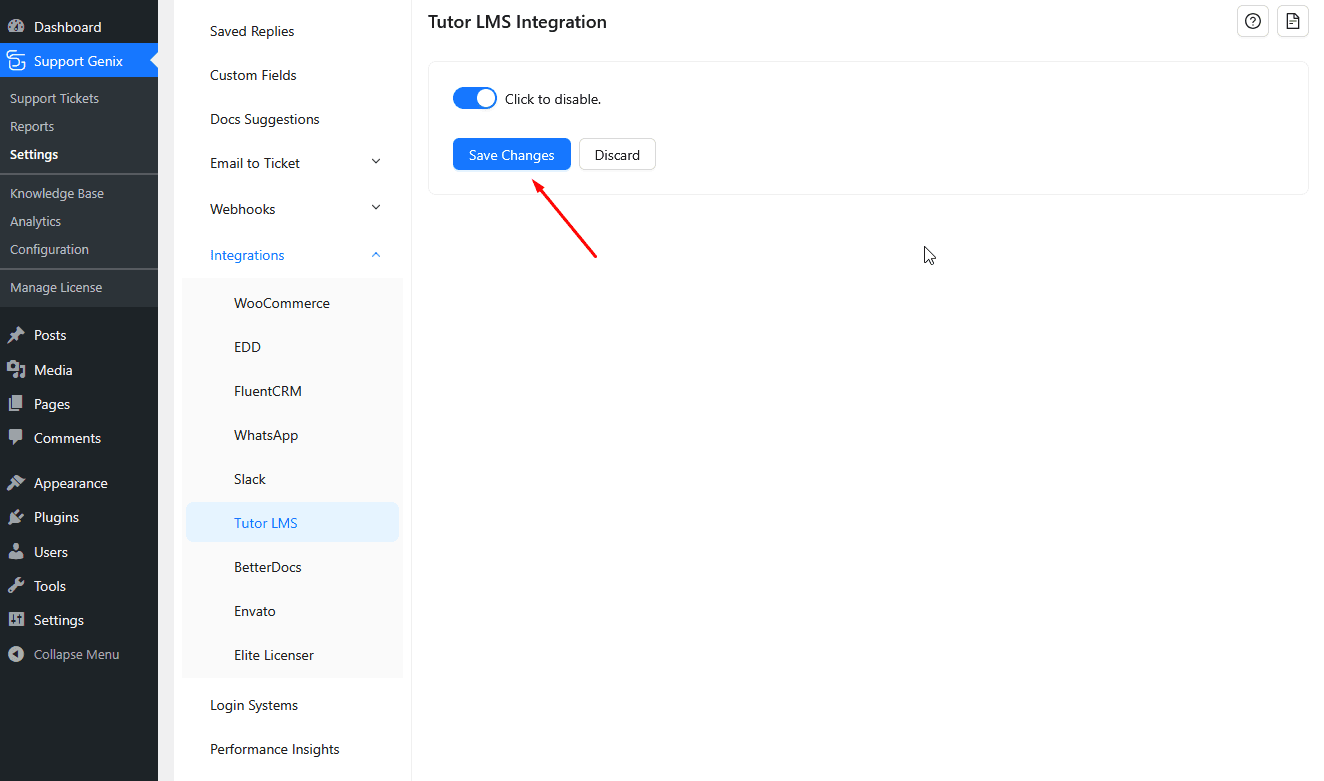
- Go to Support Genix > Settings > Integrations in the WordPress admin panel.
Step 2. Enable Tutor LMS Integration
- Locate Tutor LMS in the integrations list.
- Turn on the Integration Switcher to activate the integration (refer to the screenshot below).
- Click the Save Changes button to apply the settings.

That’s it! 🎉 Once enabled, the user’s course information will be displayed on the ticket details page, making it easier for support agents to address course-related inquiries efficiently.
