Email to Ticket (Recommended Method)
Welcome to the Email to Ticket Documentation for Support Genix!
This guide provides comprehensive instructions for setting up and using the Email to Ticket feature in the Support Genix plugin. This feature allows incoming customer emails to be automatically converted into support tickets within the Support Genix platform. By centralizing customer inquiries into a ticketing system, you can enhance your customer support process, improve response times, and ensure no customer concern is missed.
Benefits of using Email to Ticket
✅ Effortless Ticket Creation: Automatically convert customer emails into tickets, simplifying the ticketing process.
✅ Centralized Communication: Manage customer communication in one place for efficient responses.
✅ Enhanced Efficiency: Speed up response times and ensure timely resolution of customer issues.
✅ Trackable Conversations: Maintain detailed records of customer interactions for analytics and tracking.
Steps to Enable Email to Ticket or Email Piping Feature
To enable Email to Ticket in Support Genix, ensure that the Support Genix Pro Edition is activated on your website.
Step 1: How to enable the Email to Ticket feature?
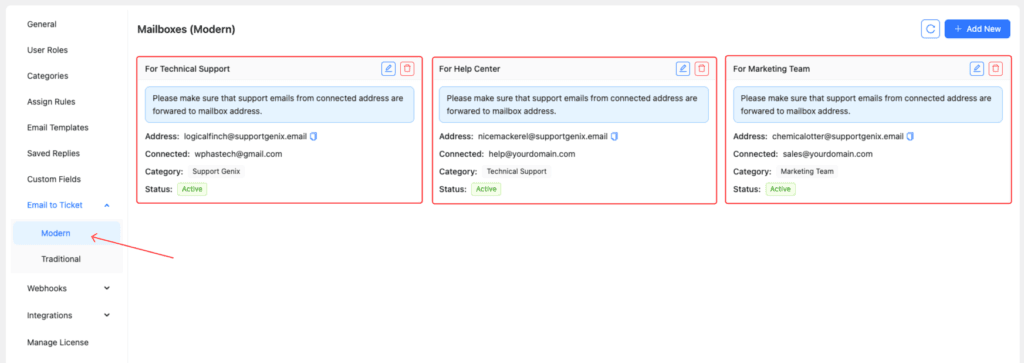
- Navigate to WordPress Dashboard > Support Genix > Settings > Email to Ticket > Modern.
- Click the Add New button to configure a new Mailbox.
- Fill in the required fields:
- Enable: Toggle this switcher to enable the Mailbox.
- Mailbox Title: Enter a descriptive title for the Mailbox.
- Mailbox Address: This address will be automatically generated when the configuration is saved.
- Connected Email Address: Add your support email address to connect it with the Mailbox.
- Attach to Ticket Category: Enable this switcher to assign a default category for tickets created via this Mailbox.
- Privacy Policy: Review and accept the associated Privacy Policy.
- Keep the status ON to activate the Email to Ticket.
- Save the configuration.
- Copy the generated Mailbox Address to forward your connected email address to it.
Step 2: Forward your connected email address to Mailbox Address
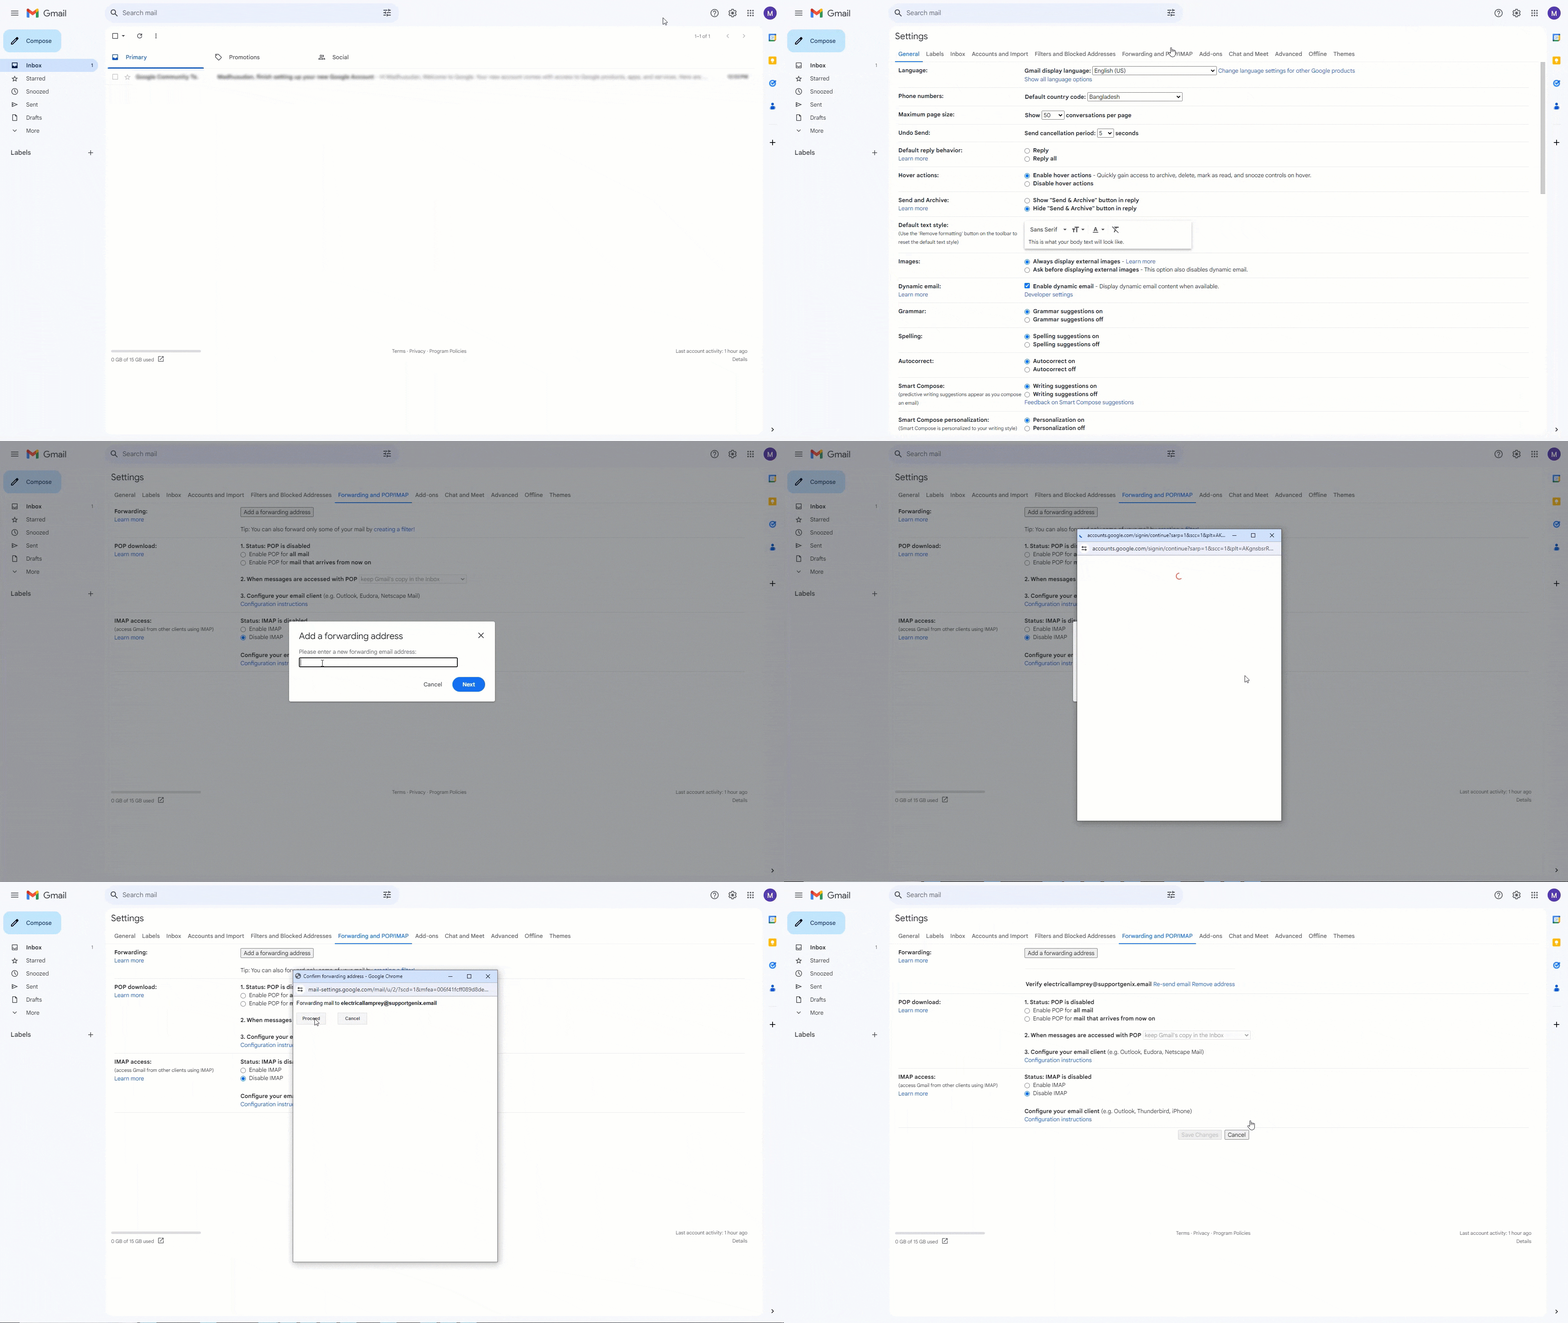
To complete the setup, forward your connected email address to the Mailbox Address generated in Step 1. For example, to forward emails from Gmail or Google Workspace (formerly G Suite), refer to the documentation link below:
📌 Use Gmail for Email to Ticket

Create Unlimited Mailboxes
Support Genix allows you to create multiple Mailboxes for different teams or departments. For instance:
- For Support: [email protected]
- For Sales: [email protected]

There is no limit on the number of Mailboxes you can create.
Managing Mailboxes: Edit and Delete
Support Genix allows you to efficiently manage your mailboxes for the Email to Ticket feature. Whether you need to make changes to an existing mailbox or remove an unused one, both options are easily accessible within the platform.
Edit or Delete a Mailbox
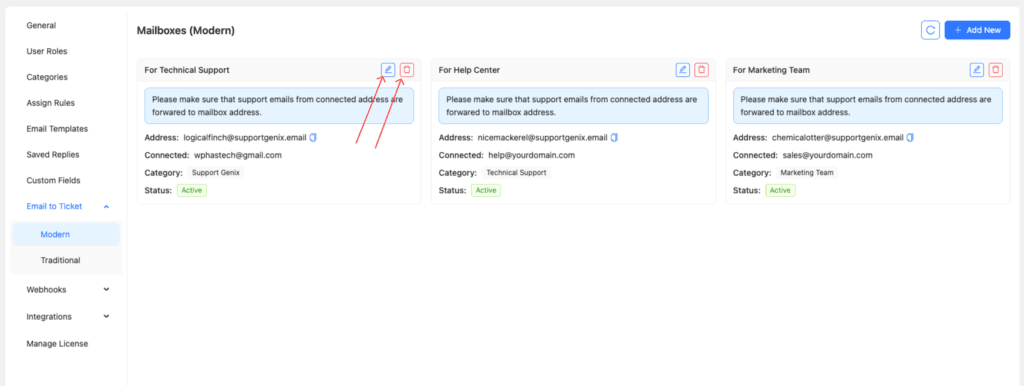
To edit or delete a mailbox, navigate to the mailbox card and locate the action icons:
- Edit a Mailbox: Click the edit icon (✏️) to modify the mailbox details. You can update the title, connected email address, default ticket category, or other configurations. After making the necessary changes, click save to apply your updates.
- Delete a Mailbox: If a mailbox is no longer required, click the delete icon (🗑️) to remove it from the system. Confirm the deletion to permanently delete the mailbox.
