WPForms Integration
If you’re looking to integrate WPForms with Support Genix for converting form submissions into tickets, here’s the updated guide for both the navigation steps and screenshots provided. This integration can be achieved using Email to Ticket (Email Piping) or Incoming Webhook.
Key Benefits of WPForms Integration
- 🛠️ Effortless Automation: Automatically convert form submissions into tickets for seamless support.
- 🚀 Time-Saving: Eliminates the need for manual data entry, streamlining the support process.
- 📈 Enhanced Accuracy: Ensures accurate mapping of form fields to ticket attributes.
- 🖇️ Flexible Integration: Works well with both simple and advanced form configurations.
- 💡 Improved Workflow: Supports additional custom fields for personalized ticket handling.
Step-by-Step Process to Integrate WPForms with Support Genix
Step 1: Create a Contact Form in WPForms
- Go to WPForms > All Forms and either create a new form or edit an existing one.
- Design your form fields based on your support requirements. Ensure that fields like Name, Email, Subject, and Message are included.
Step 2: Enable Webhook in WPForms
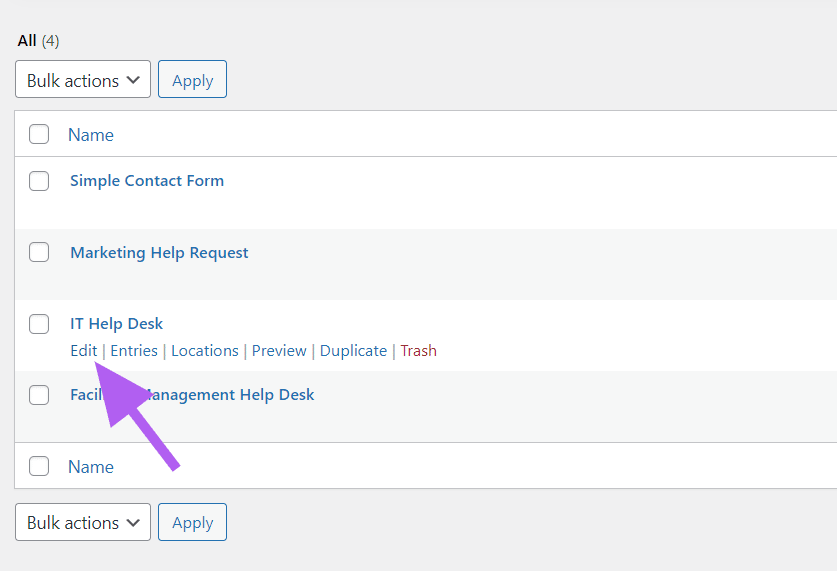
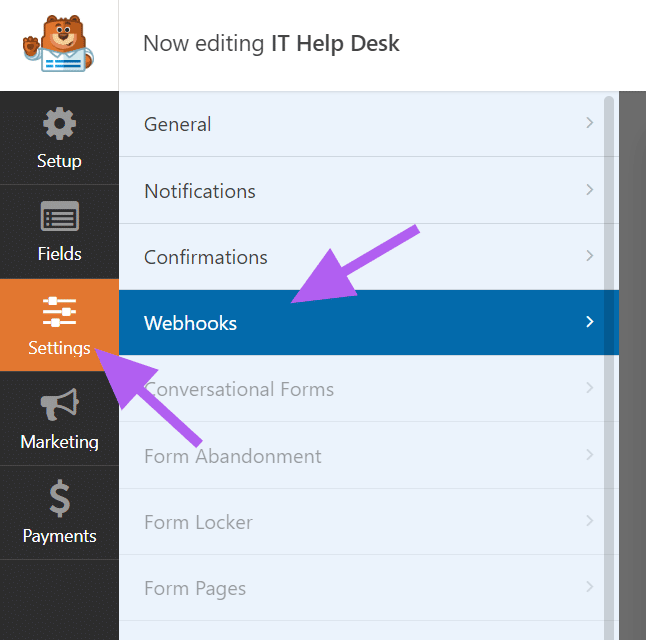
- Navigate to WPForms > All Forms > Edit Form.
- Go to the Settings tab for the selected form and locate the Webhooks section.
- Enable the webhook and configure it.
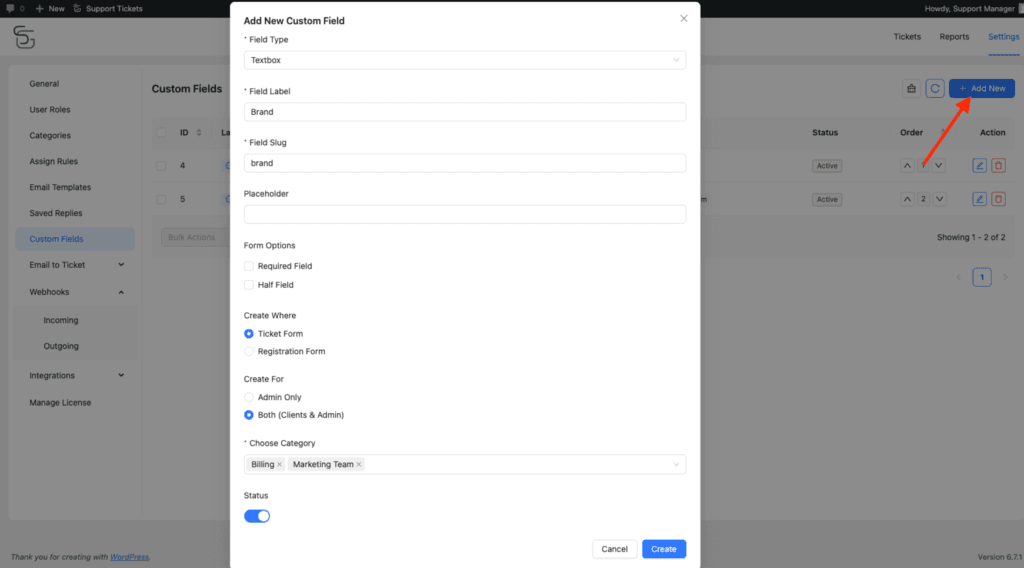
Step 3: Add Custom Fields in Support Genix
- Go to Support Genix > Settings > Custom Fields and click Add New.
- Create custom fields corresponding to your WPForms fields (e.g., Phone, Brand, Platform, OS).
- Match the slugs of the custom fields with WPForms webhook keys for seamless mapping.
Step 4: Set Up Incoming Webhook in Support Genix
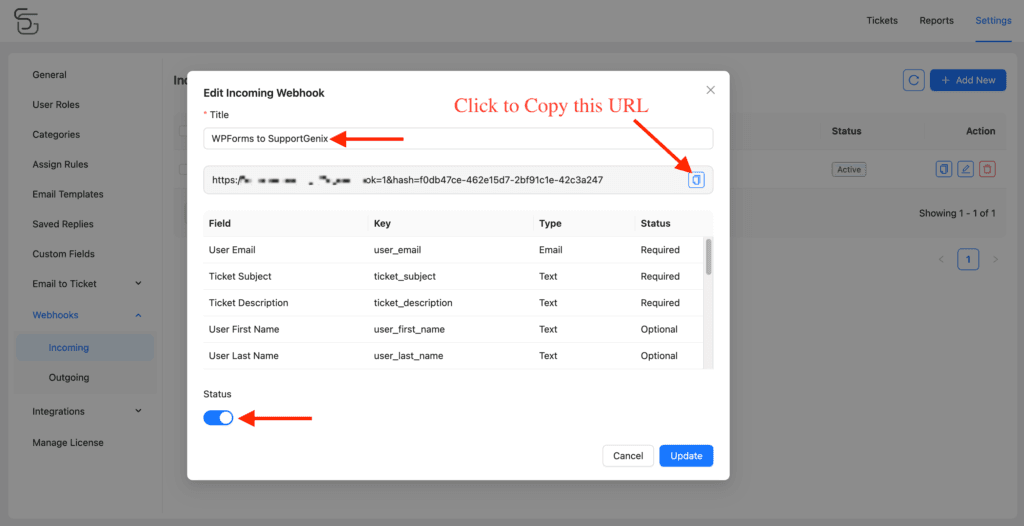
- Navigate to Support Genix > Webhooks > Incoming and click Add New Webhook.
- Provide a title, enable the webhook, and save it.
- Copy the webhook URL.
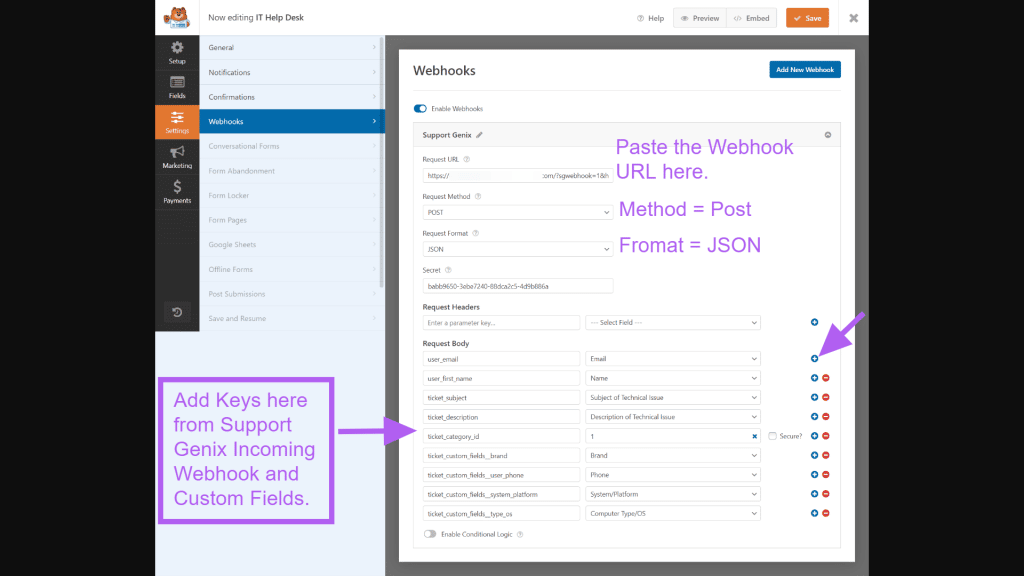
Step 5: Add the Webhook URL to WPForms
- Return to WPForms > All Forms > Edit Form > Webhooks.
- Paste the copied webhook URL from Support Genix into the Webhook URL field.
- For custom fields, use the following key format:
ticket_custom_fields__custom_field_slug- Example: For “Phone”, use
ticket_custom_fields__phone.
- Example: For “Phone”, use
ticket_custom_fields[custom_field_slug]- Example: For “Phone”, use
ticket_custom_fields[phone].
- Example: For “Phone”, use
- For ticket category: Use the key
ticket_category_idand retrieve the category ID from Support Genix > Categories.
Step 6: Test the Integration
- Go to the published form’s page and fill out the fields.
- Submit the form to verify that a ticket is generated in Support Genix.
- Ensure that all fields are mapped correctly and the ticket category is assigned properly.
That’s it! With these updated steps and navigation paths, you’ll seamlessly integrate WPForms with Support Genix. If you need further assistance, feel free to reach out to our support team. 🎉
Last updated on March 15, 2026
Was this article helpful?
Powered by Support Genix