How to Add Knowledge Base Articles
The Knowledge Base feature in SupportGenix allows you to create and display helpful support articles directly on your website. It’s designed to reduce support tickets by giving customers instant access to guides. You can easily write and format documentation using the built-in editor, then organize it with categories and tags for better navigation. In this guide, you’ll learn how to add new Knowledge Base articles step by step.
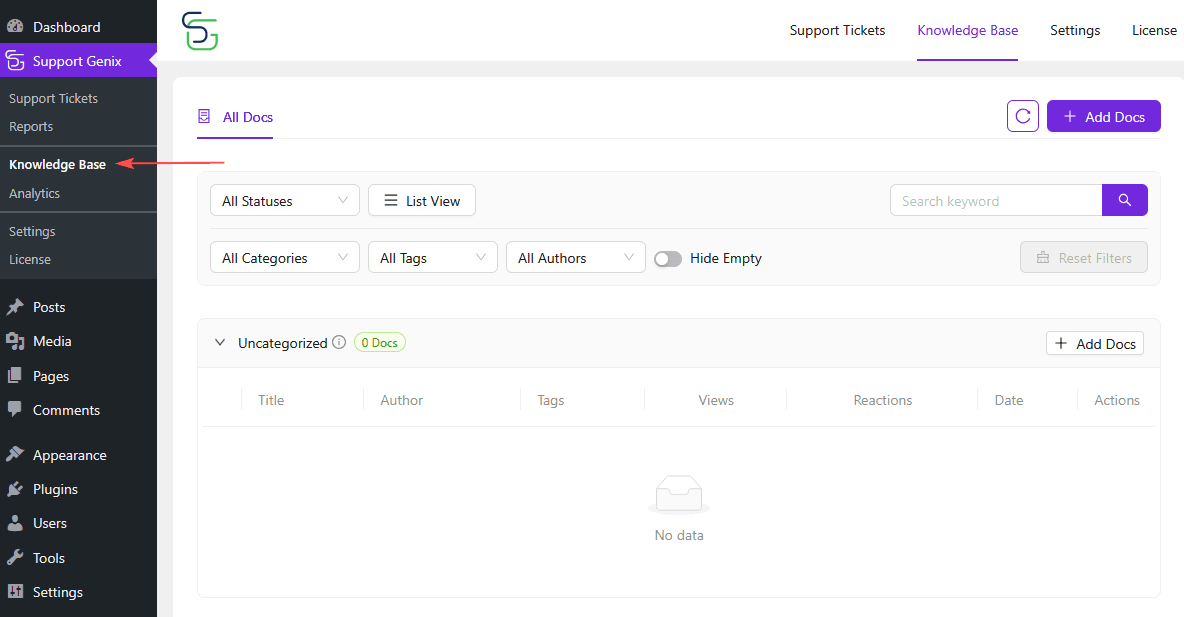
Step 1: Navigate to the Knowledge Base Area
From your WordPress dashboard:
- Go to Support Genix in the left sidebar.
- Click on Knowledge Base.
This section displays all Knowledge Base docs, or lets you create a new one.
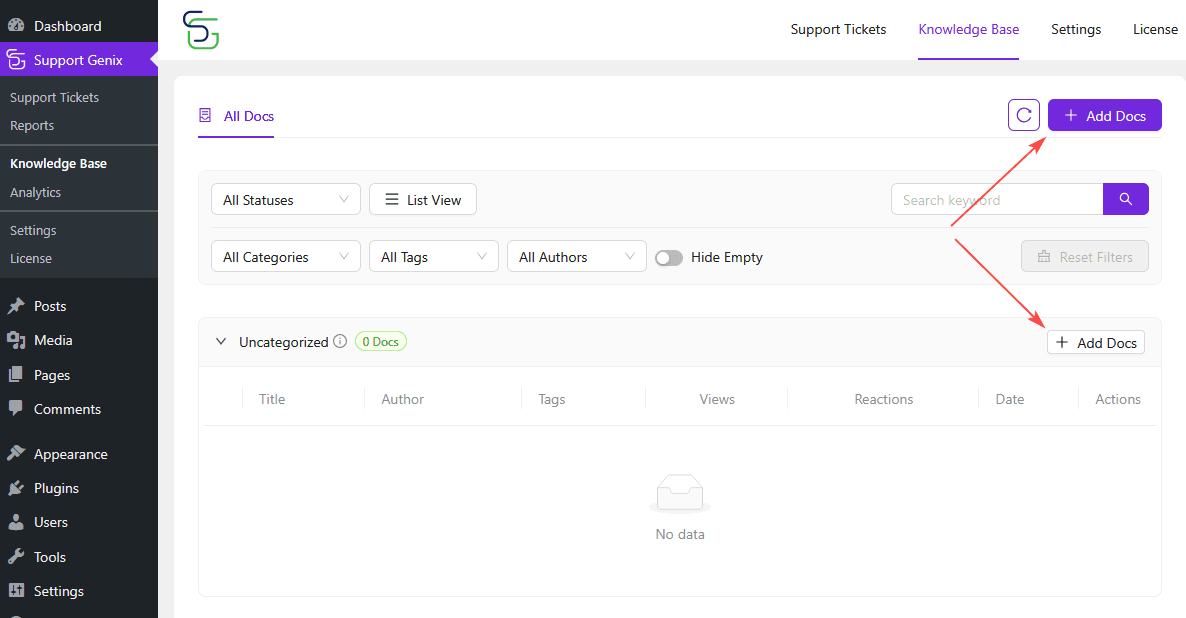
Step 2: Add a New Article
There are two ways to start creating a new document:
- Click the purple + Add Docs button on the top right.
- Or click the Add Docs button inside a specific category (like “Uncategorized”).
This will take you to the article editor.
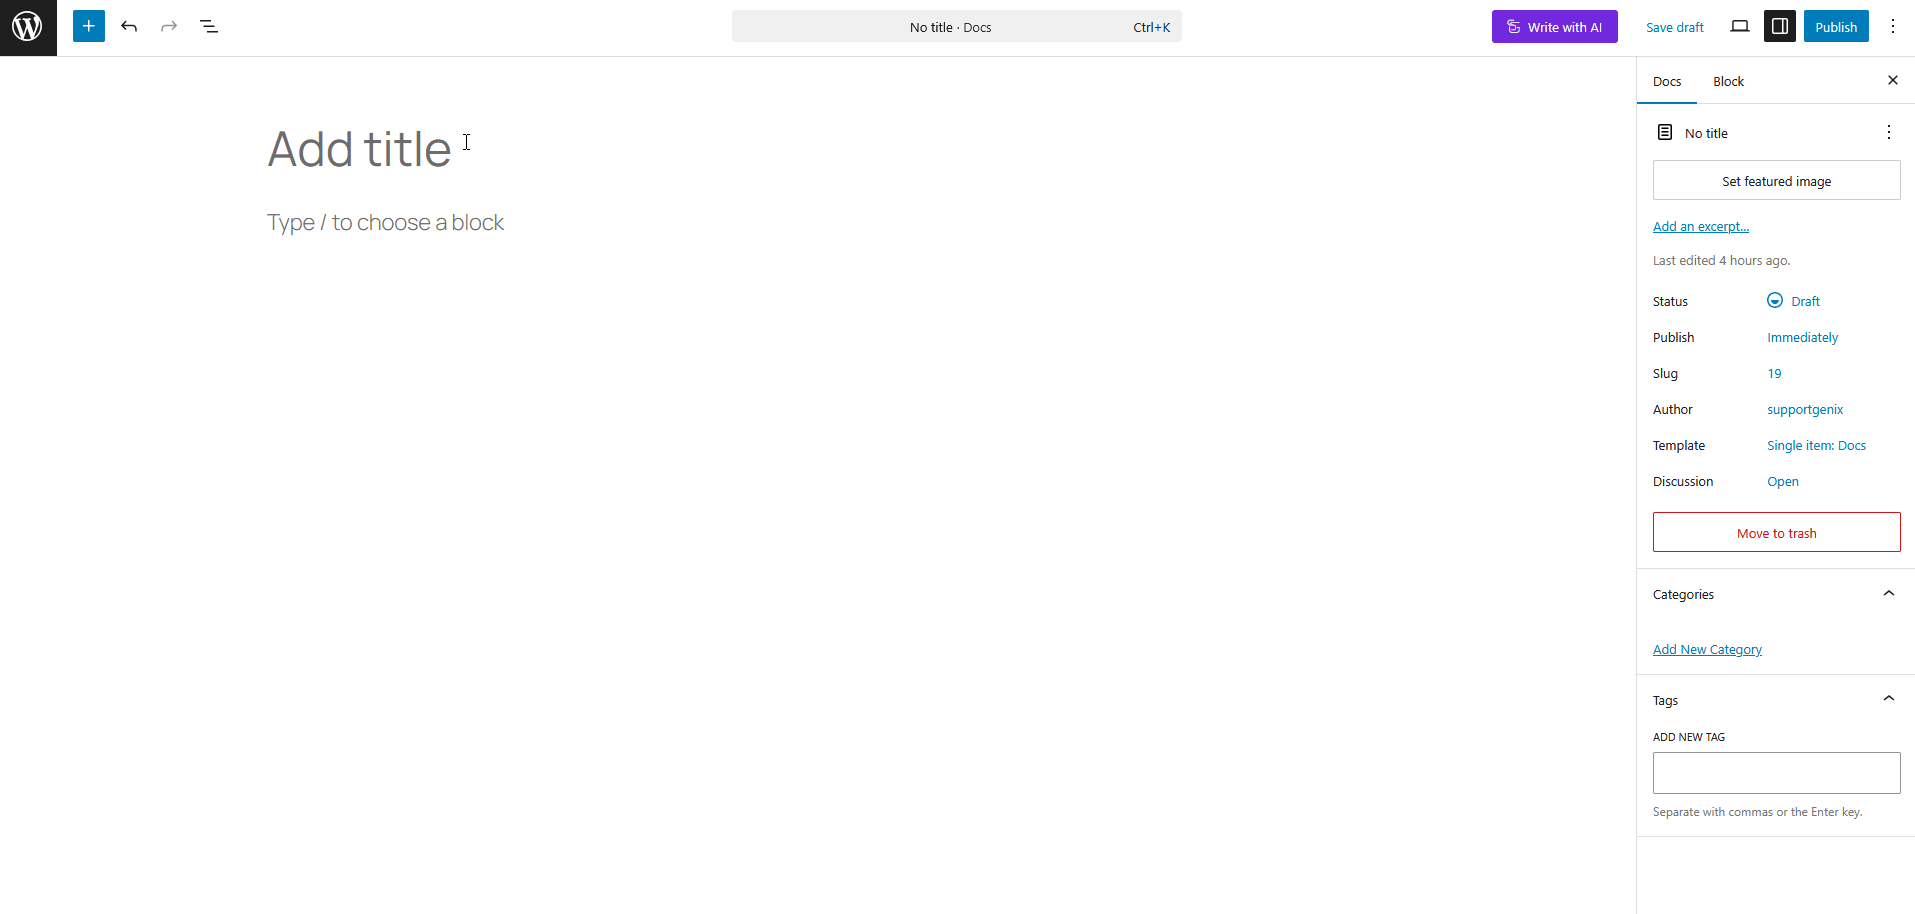
Step 3: Enter Article Title and Content
Inside the editor:
- Enter a Title at the top.
- Use the block editor to write your article content. Break it down using headings, bullet points, and step-by-step instructions.
- Add images or screenshots to make it more helpful.
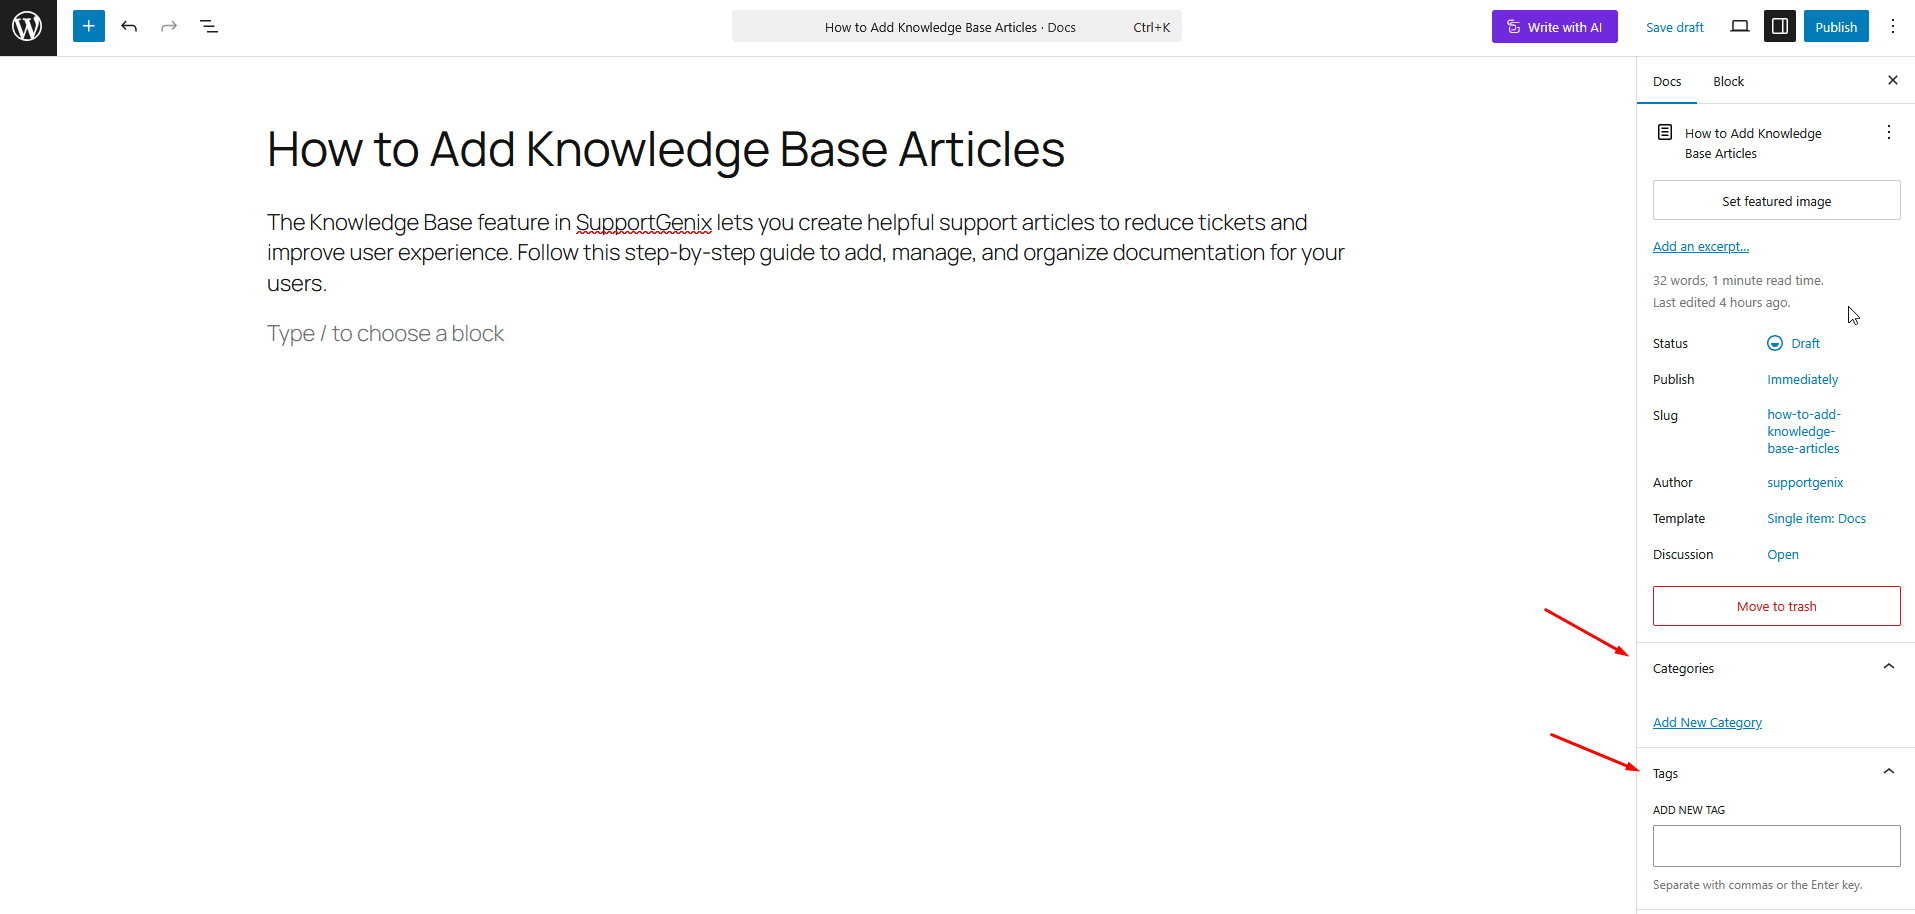
Step 4: Categorize and Tag the Article
On the right-hand sidebar:
- Select the appropriate Category (or create a new one).
- Add Tags that describe the topic. This helps users find relevant articles quickly.
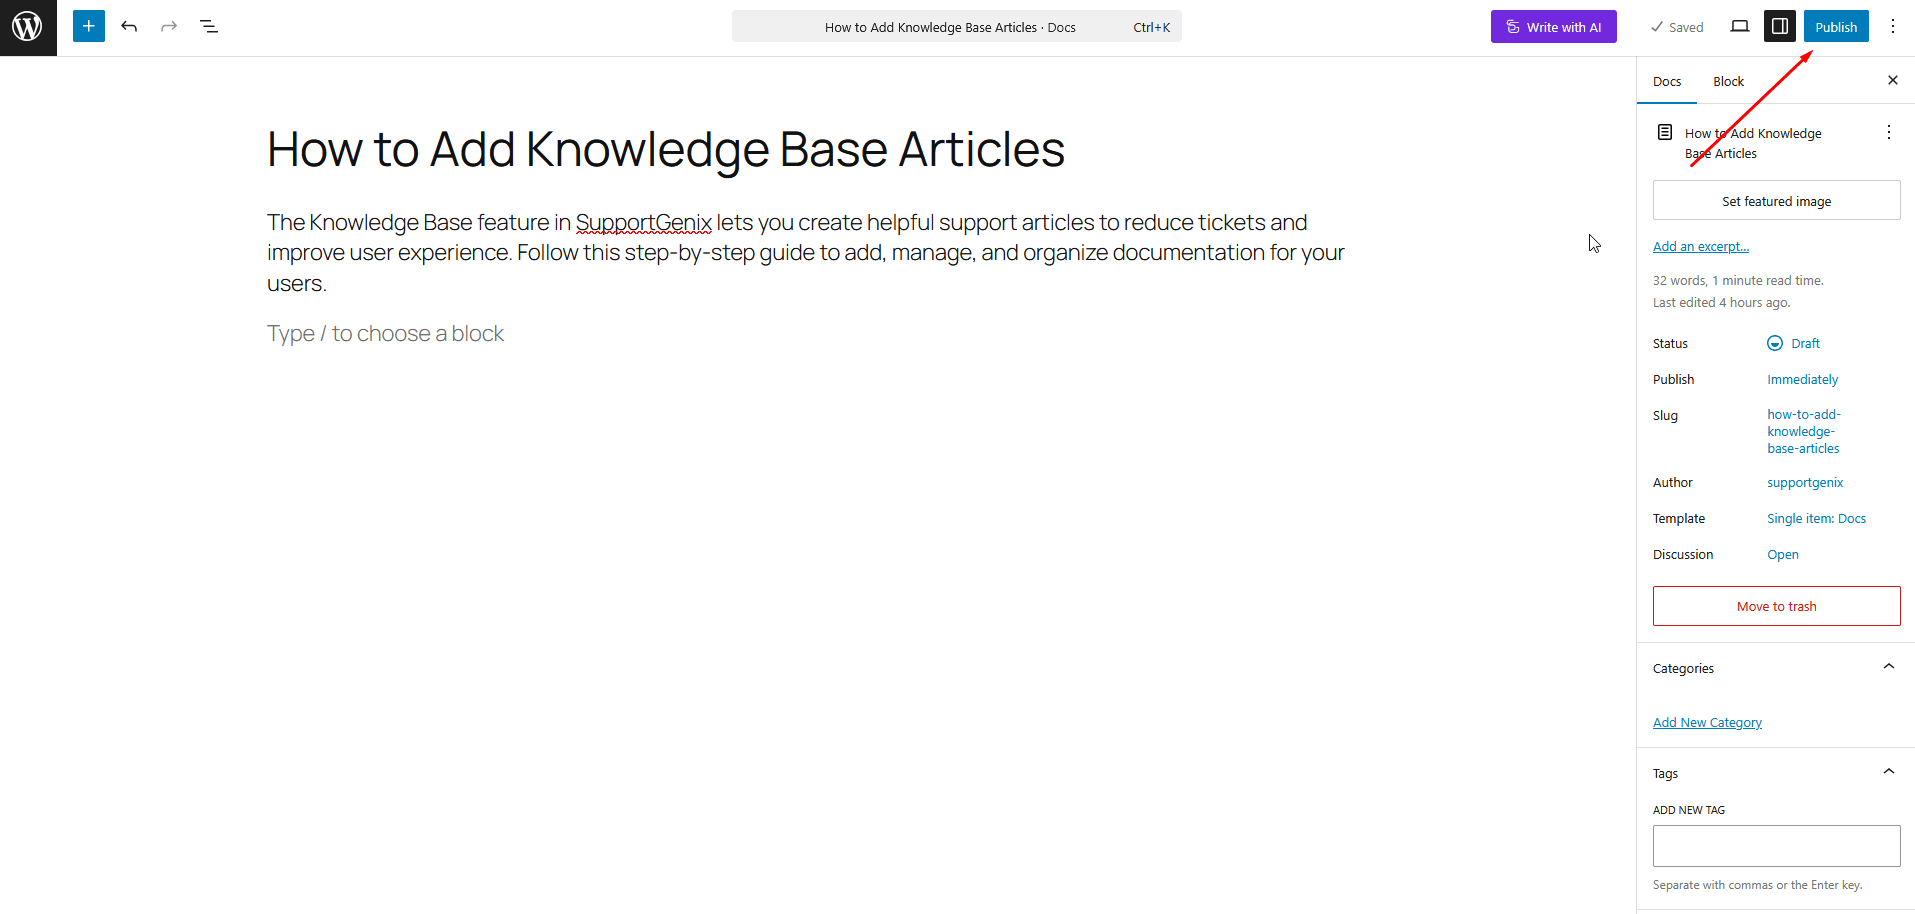
Step 5: Publish the Article
Once your article is ready:
- Review for typos and formatting.
- Click the Publish button on the top right.
Last updated on March 15, 2026
Was this article helpful?
Powered by Support Genix