How to Manage Knowledge Base Categories and Tags in Support Genix
Organizing your documentation properly is key to helping users find relevant articles quickly. In SupportGenix, you can create and manage Categories and Tags to structure your Knowledge Base effectively. Categories group related articles under specific topics, while tags make articles searchable based on keywords. This guide explains how to add, manage, and organize both.
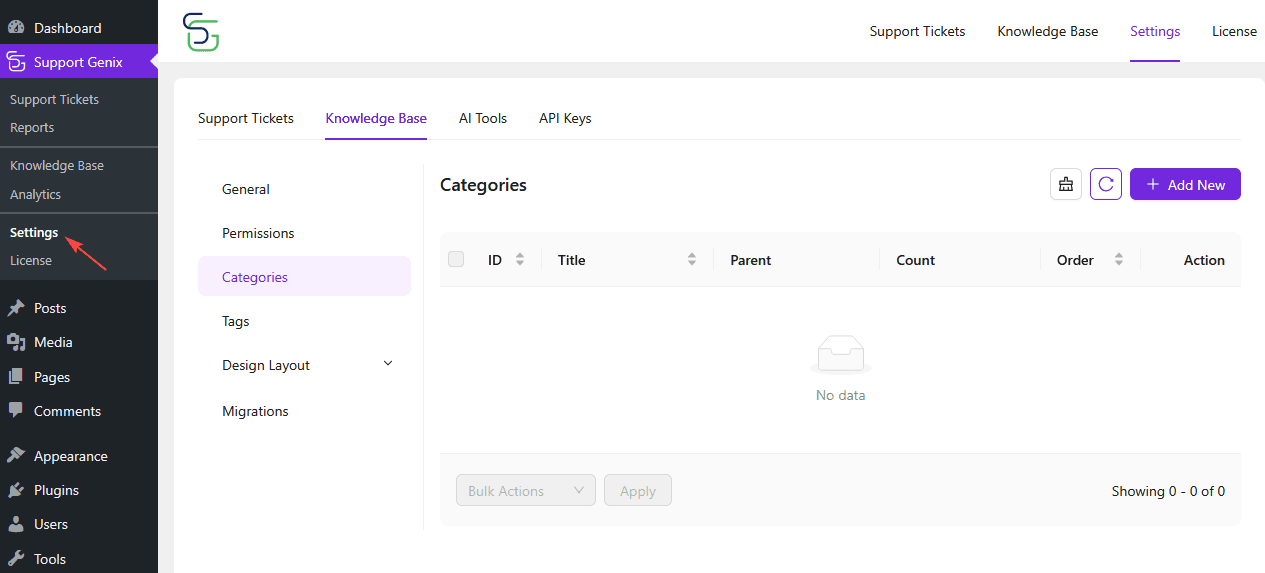
Step 1: Access the Categories and Tags Settings
- In your WordPress dashboard, go to SupportGenix > Settings.
- Click on Knowledge Base.
- From the submenu, select Categories or Tags depending on what you want to manage.
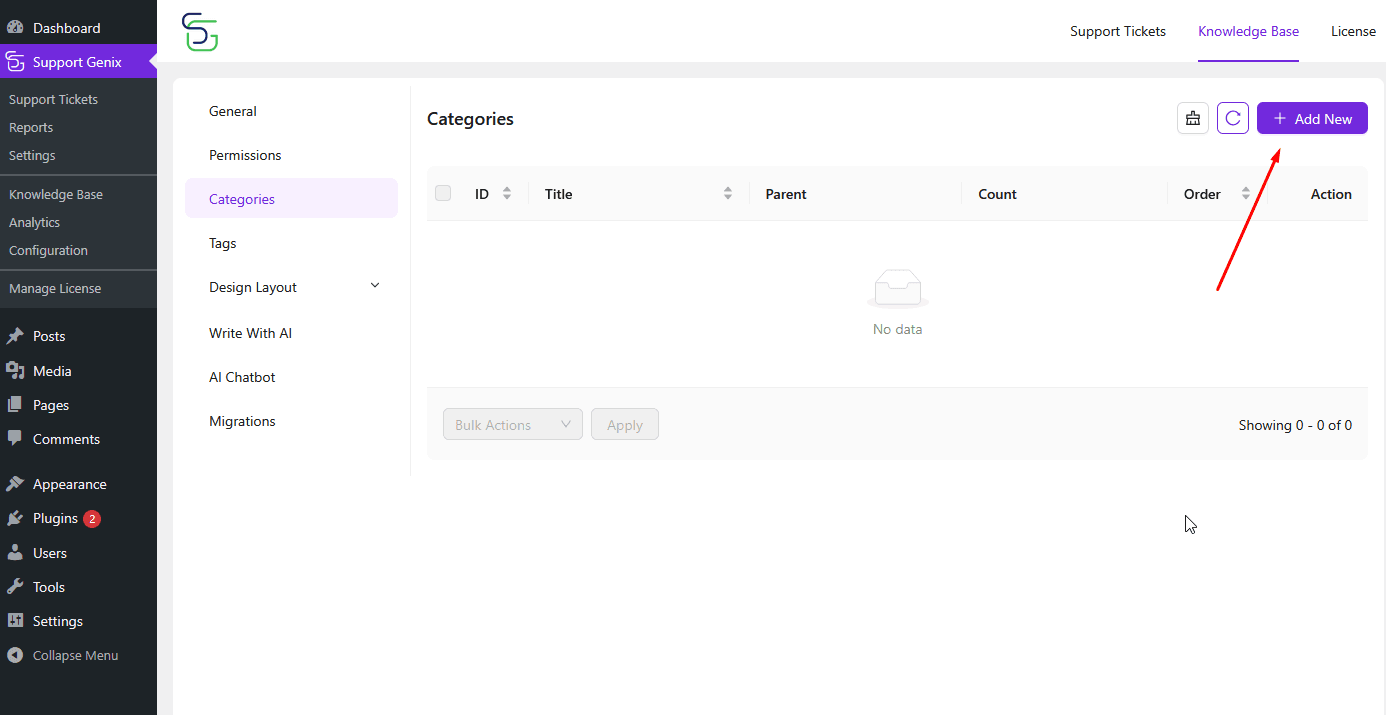
Step 2: Add a New Category
To create a category:
- Click the “Add New” button in the top-right corner of the Categories panel.
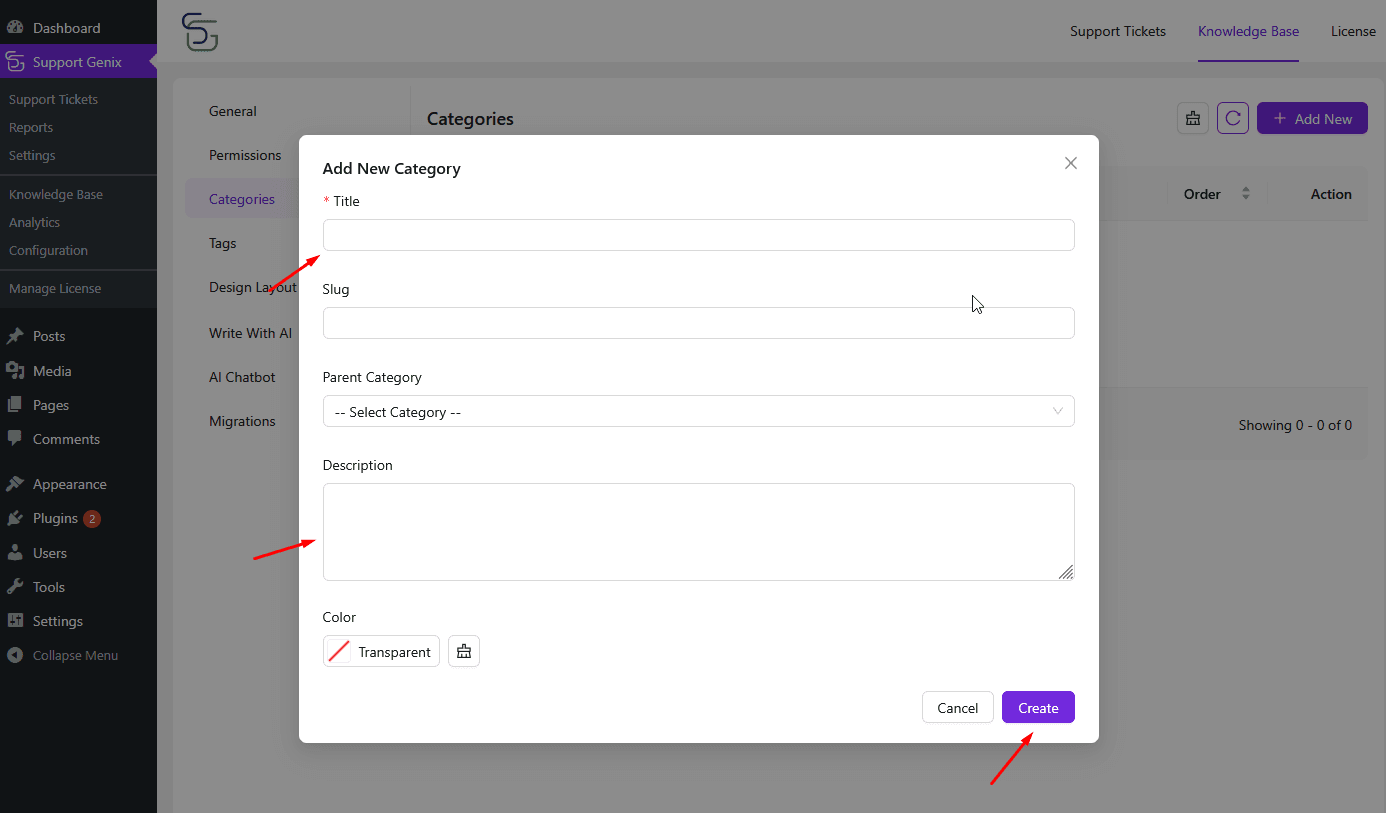
- A popup modal will appear titled “Add New Category.”
- Fill out the following fields:
Title: Name of the category (required).
Slug: (Optional) URL-friendly identifier.
Parent Category: Select if you want to create a subcategory.
Description: Brief explanation of the category.
Color: Choose a color for visual identification or leave as transparent. - Click Create to save the category.
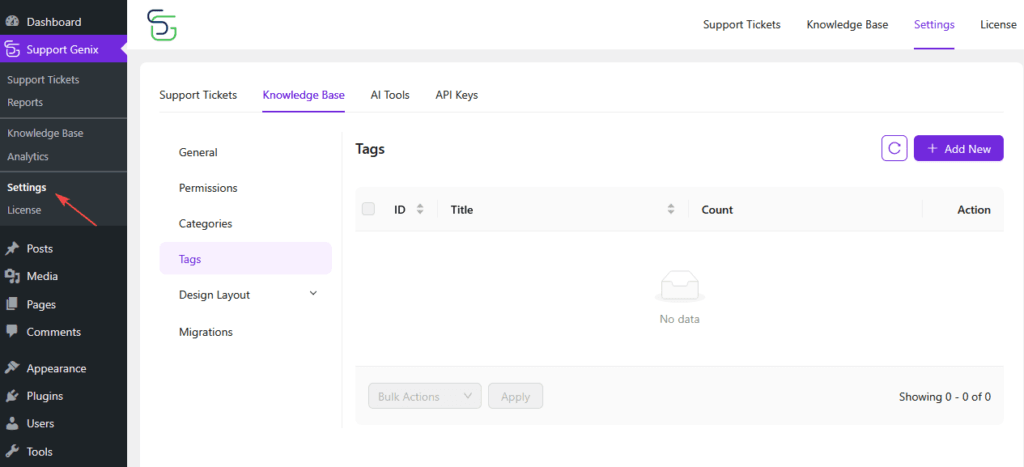
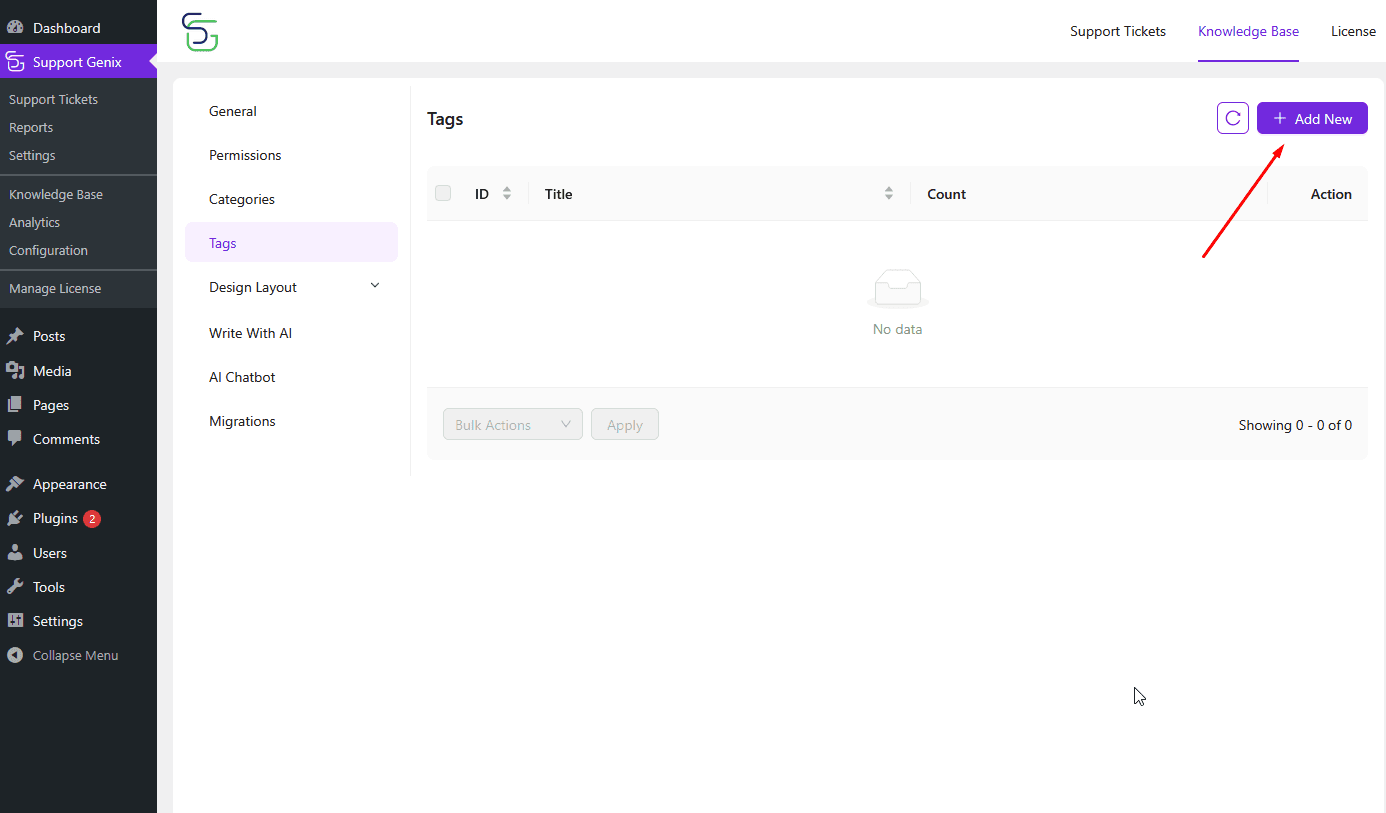
Step 3: Add a New Tag
- Switch to the Tags tab in the Configuration section.
- Click the “Add New” button at the top-right.
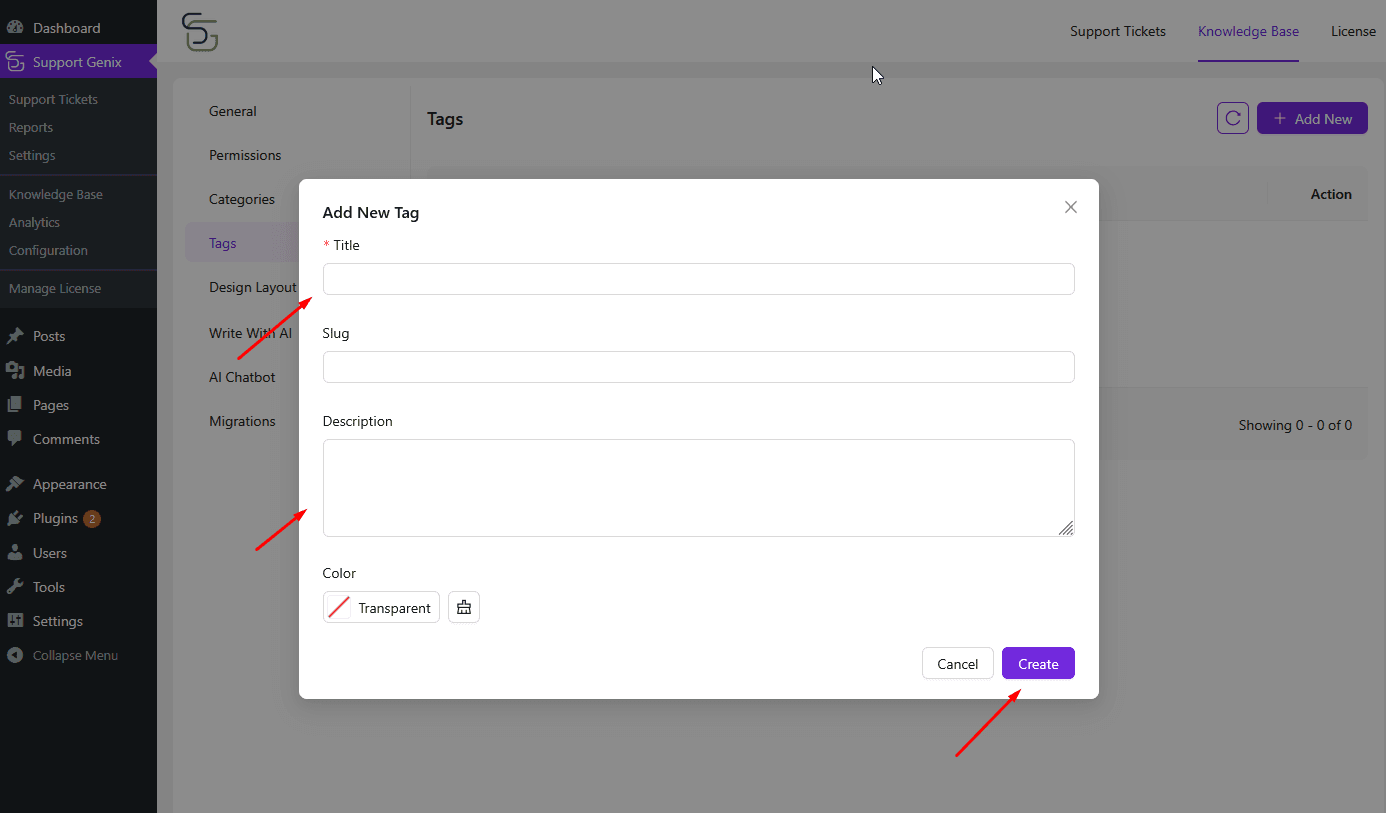
- The “Add New Tag” popup will appear.
- Enter the following details:
Title: Name of the tag (required).
Slug: (Optional) A URL-friendly version of the tag.
Description: Short summary or use-case for the tag.
Color: Select a tag color for visual grouping (optional). - Click Create to save the tag.
Sorting Categories and Tags
Support Genix lets you reorder your categories and tags to control how they appear on the frontend.
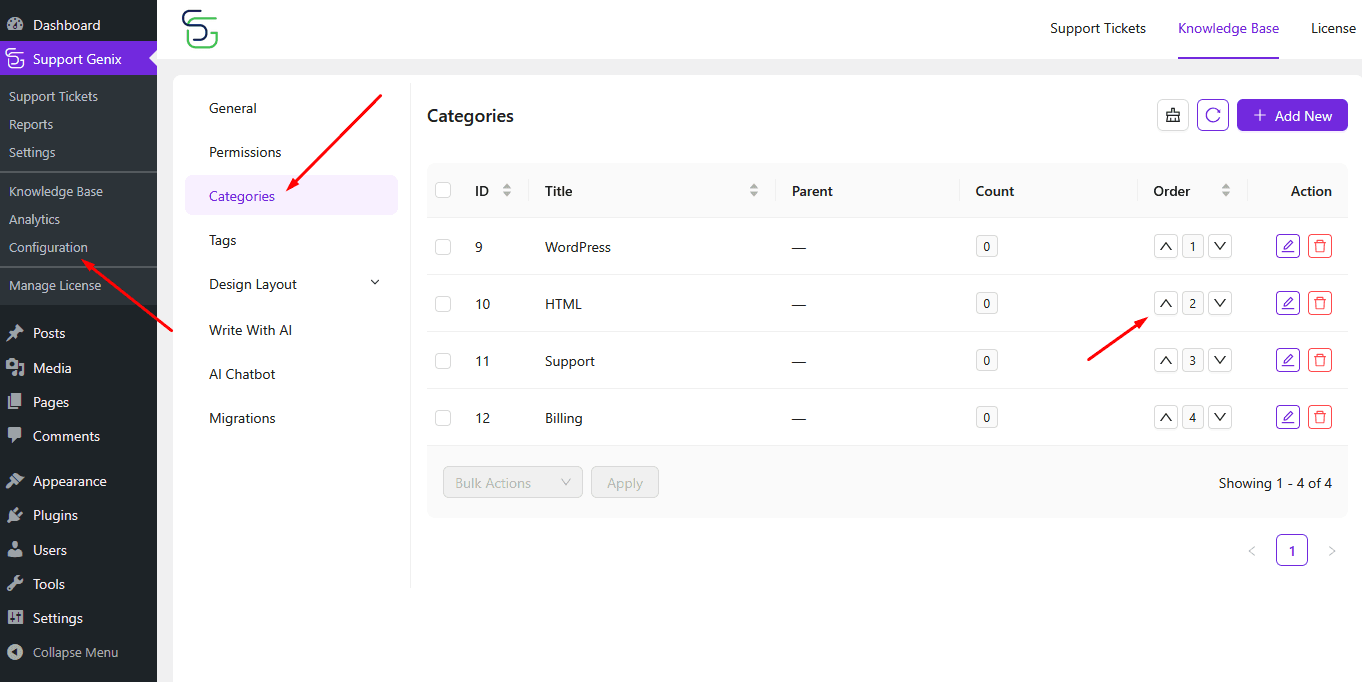
To sort categories:
- Go to Support Genix > Configuration > Categories.
- Under the Order column, you’ll see up and down arrows next to each category.
- Click the arrows to change the position of the category.
- The numbers reflect the display order. Lower numbers appear first.
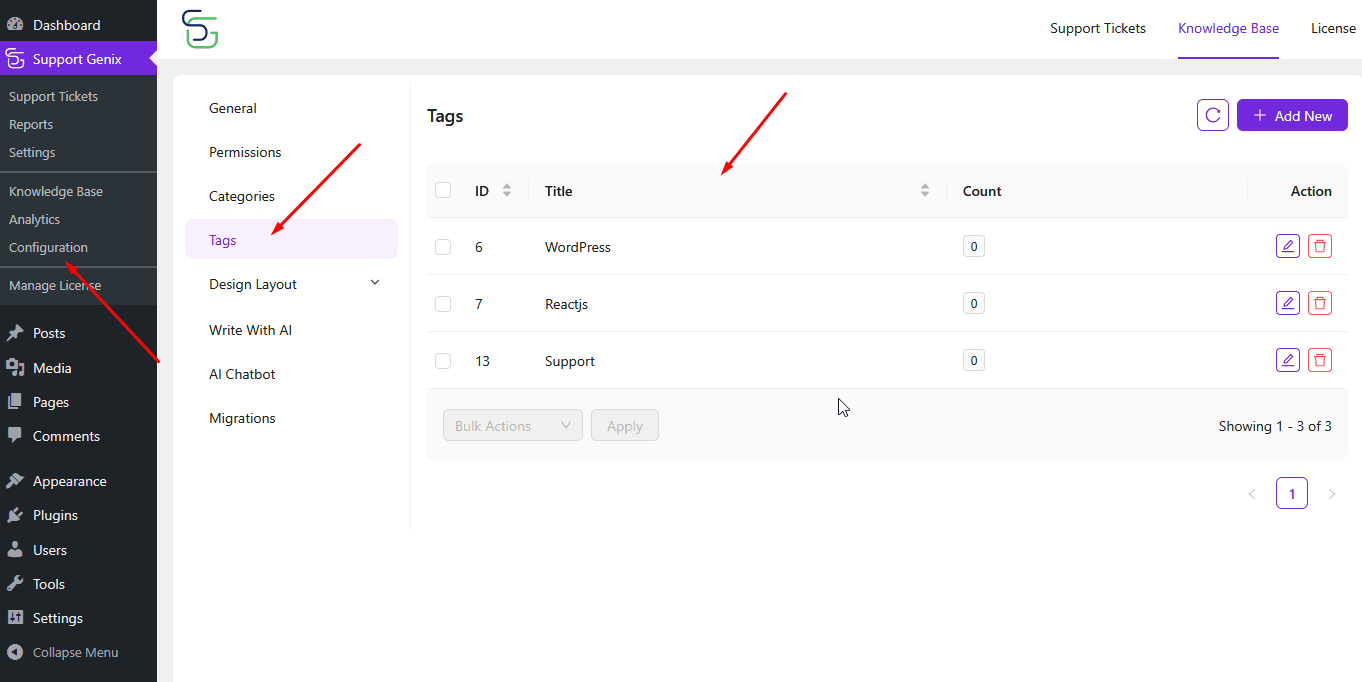
To sort tags:
- Navigate to Support Genix > Configuration > Tags.
- Click on the Title column to sort the tags in ascending or descending order.
This sorting ensures your most important topics appear prominently for better user accessibility.
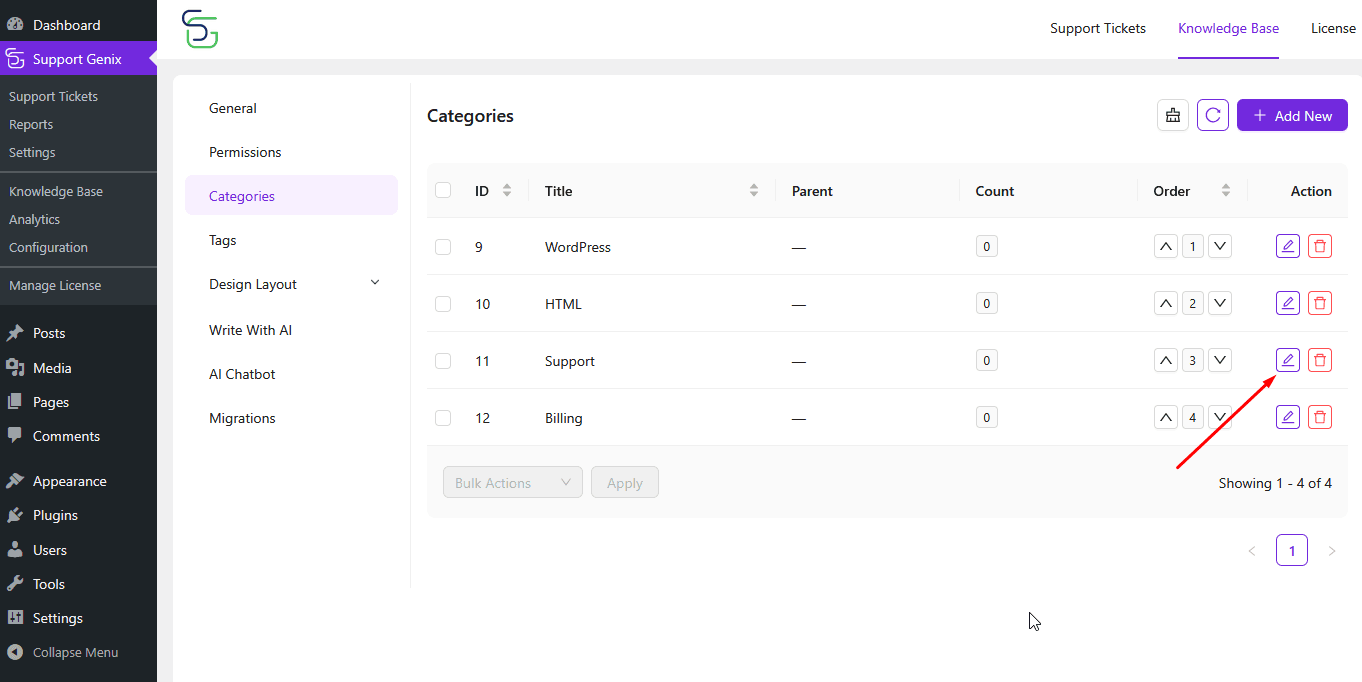
Editing or Updating Categories
You can easily update any existing category to refine your documentation structure.
- Go to Support Genix > Configuration > Categories.
- Find the category you want to edit.
- Click the Edit icon (pencil icon) under the Action column.
- Update the Title, Slug, Parent Category, Description, or Color as needed.
- Click the Update button to save changes.
This is useful when you need to rename or restructure categories without creating duplicates.

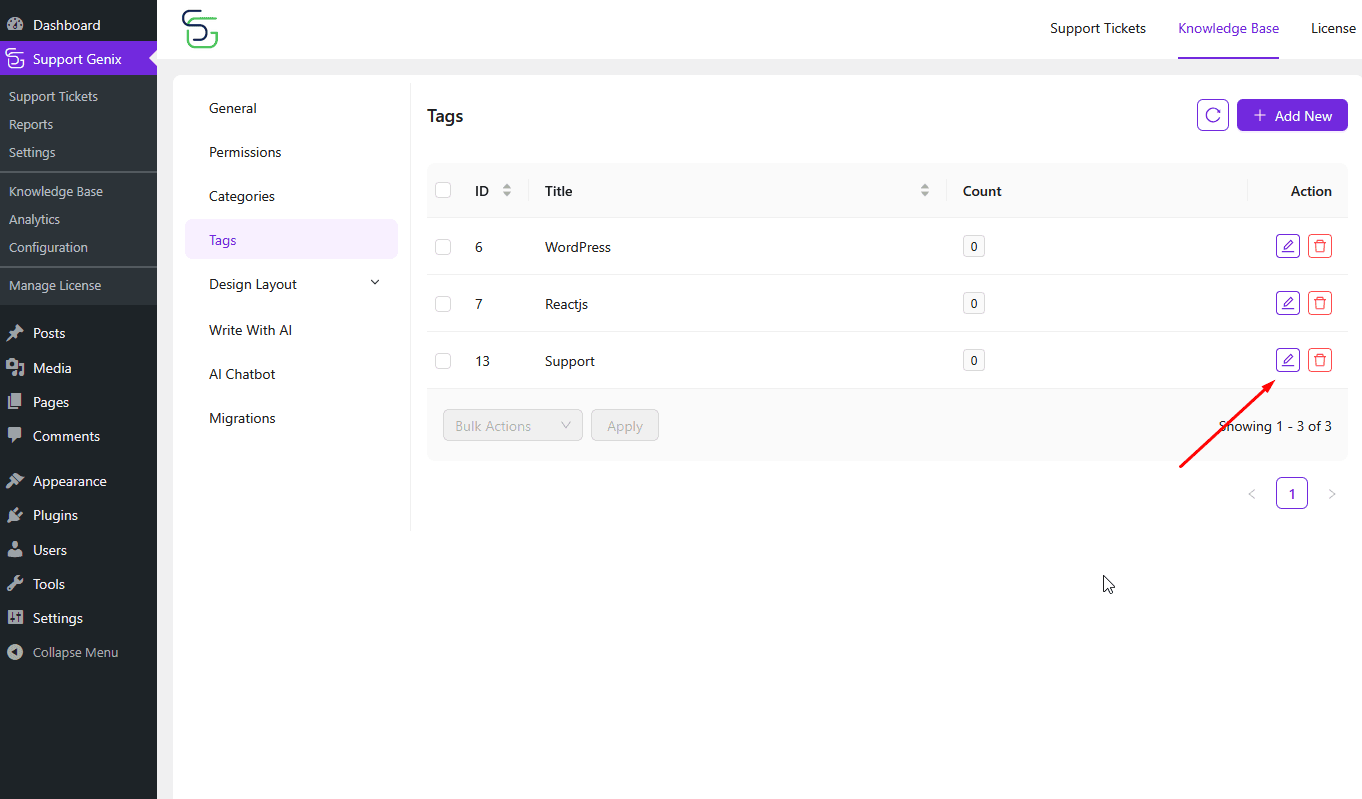
Editing or Updating Tags
Updating tags works similarly to categories:
- Go to Support Genix > Configuration > Tags.
- Click the Edit icon beside the tag you want to change.
- Modify the Title, Slug, Description, or Color as needed.
- Press the Update button to save your changes.
Keeping tags up to date ensures users can filter content accurately based on relevant keywords.

Last updated on March 15, 2026
Was this article helpful?
Powered by Support Genix