How to Set Up the AI Chatbot in SupportGenix to Automate Customer Support
The AI Chatbot feature in Support Genix provides real-time, automated assistance to users directly from your support site and ticket page. It helps users find answers instantly, even outside business hours, reducing the need to wait for agent responses. By leveraging AI, it improves response accuracy, boosts customer satisfaction, and reduces support workload—allowing your team to focus on complex issues while the chatbot handles routine queries efficiently and consistently.
This guide walks you through configuring the chatbot, customizing its responses, and styling it to match your brand.
Check out the link to learn how to train the AI Chatbot.
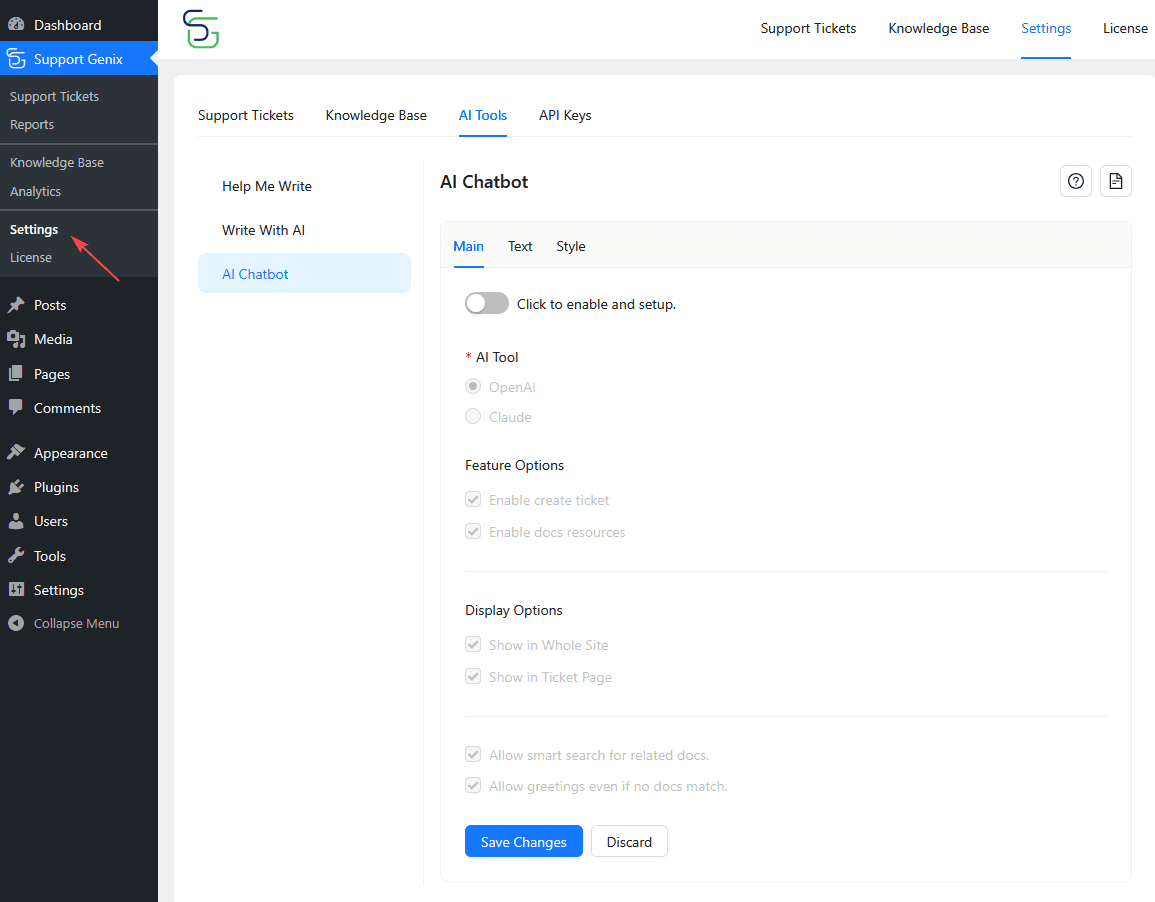
Step 1: Enable the AI Chatbot
- Go to SupportGenix > Settings > AI Tools > AI Chatbot.
- Under the Main tab, toggle the switch to enable the chatbot.
Step 2: Configure API Keys
SupportGenix manages all AI provider API keys from a centralized settings page.
You only need to complete this setup once.
- Go to SupportGenix → Settings → API Keys
- Choose the AI provider you enabled:
- OpenAI
- Claude
- Follow the global guide to add and save your API key
👉 Configure API Keys in Support Genix: How to Configure API Keys in SupportGenix
⚠️ AI features will not work until at least one API provider is properly configured.
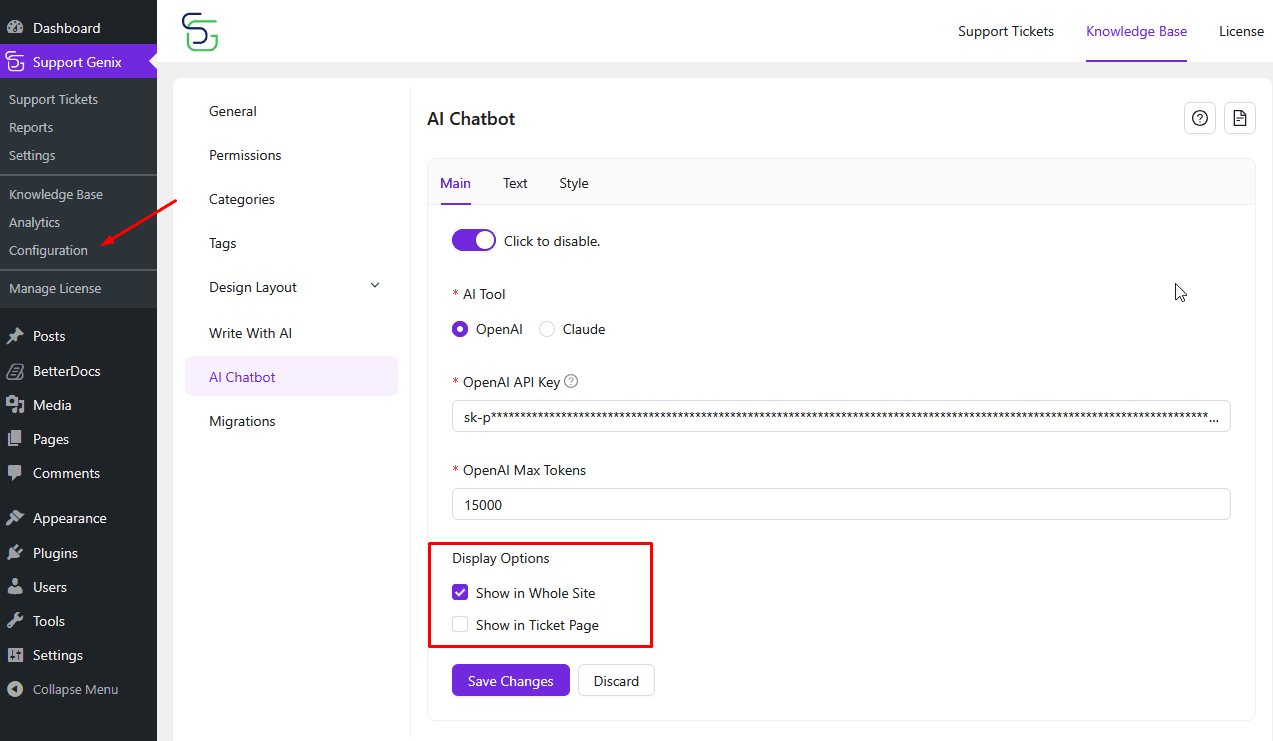
Step 3: Select Display Options
Choose where the chatbot should appear:
- Show in Whole Site
- Show in Ticket Page
- Click Save Changes once settings are configured.
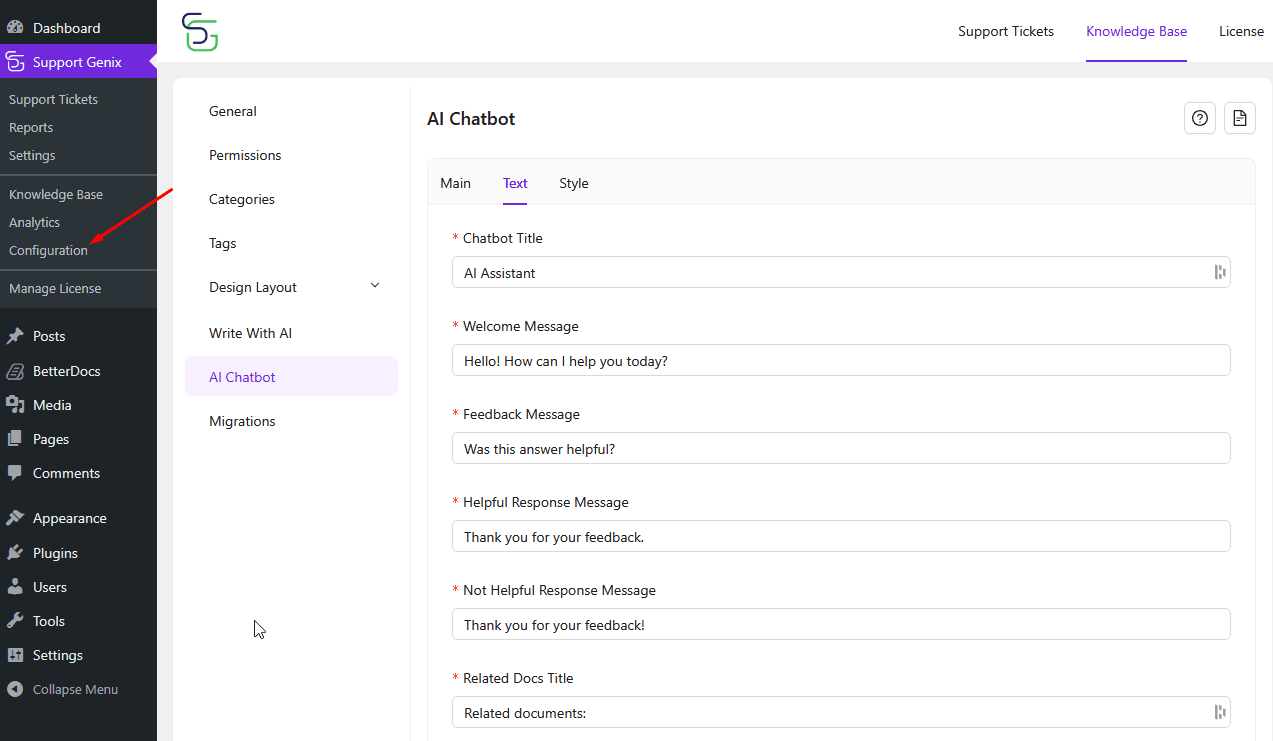
Step 4: Customize Chatbot Text
Navigate to the Text tab to personalize messages:
- Chatbot Title (e.g., AI Assistant)
- Welcome Message
- Feedback Messages (Helpful/Not Helpful)
- Related Docs Title
- Create Ticket Link Text
- Input Placeholder
- Nothing Found & Error Messages.
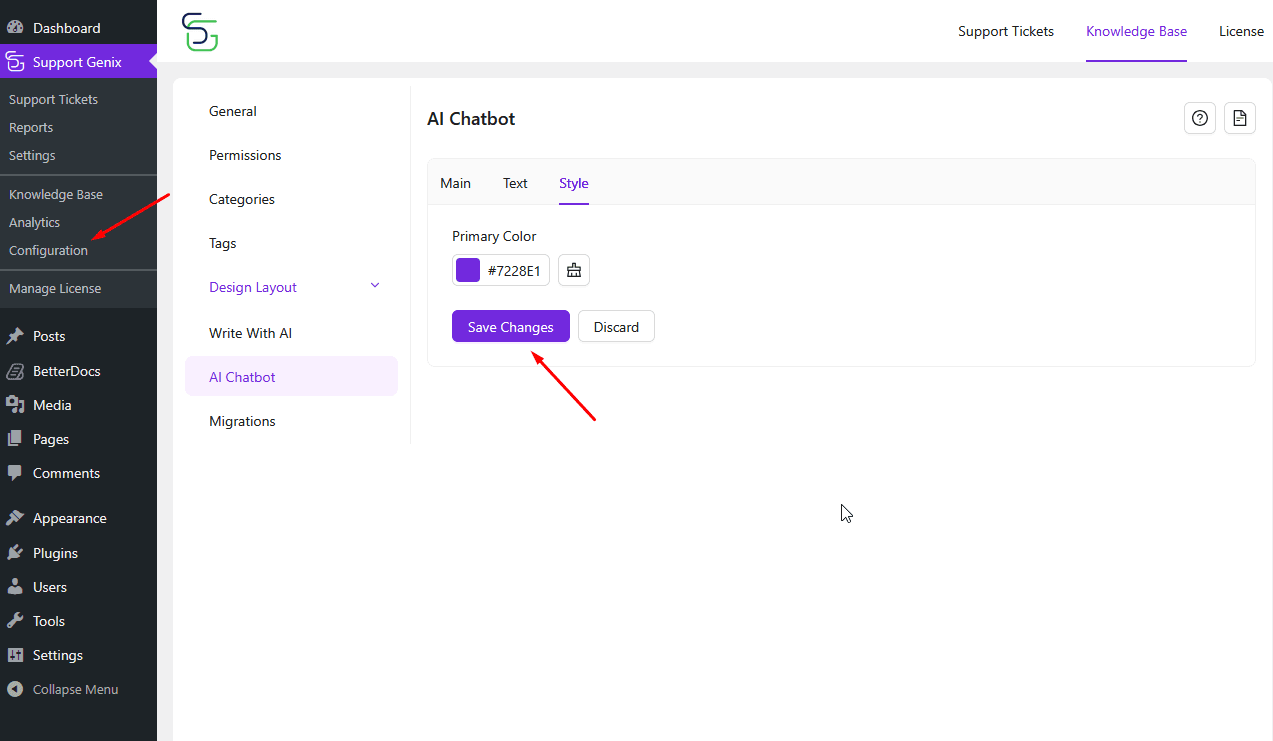
Step 5: Style the Chatbot
Go to the Style tab to define the chatbot’s color scheme.
- Choose your brand’s Primary Color.
- Click Save Changes.
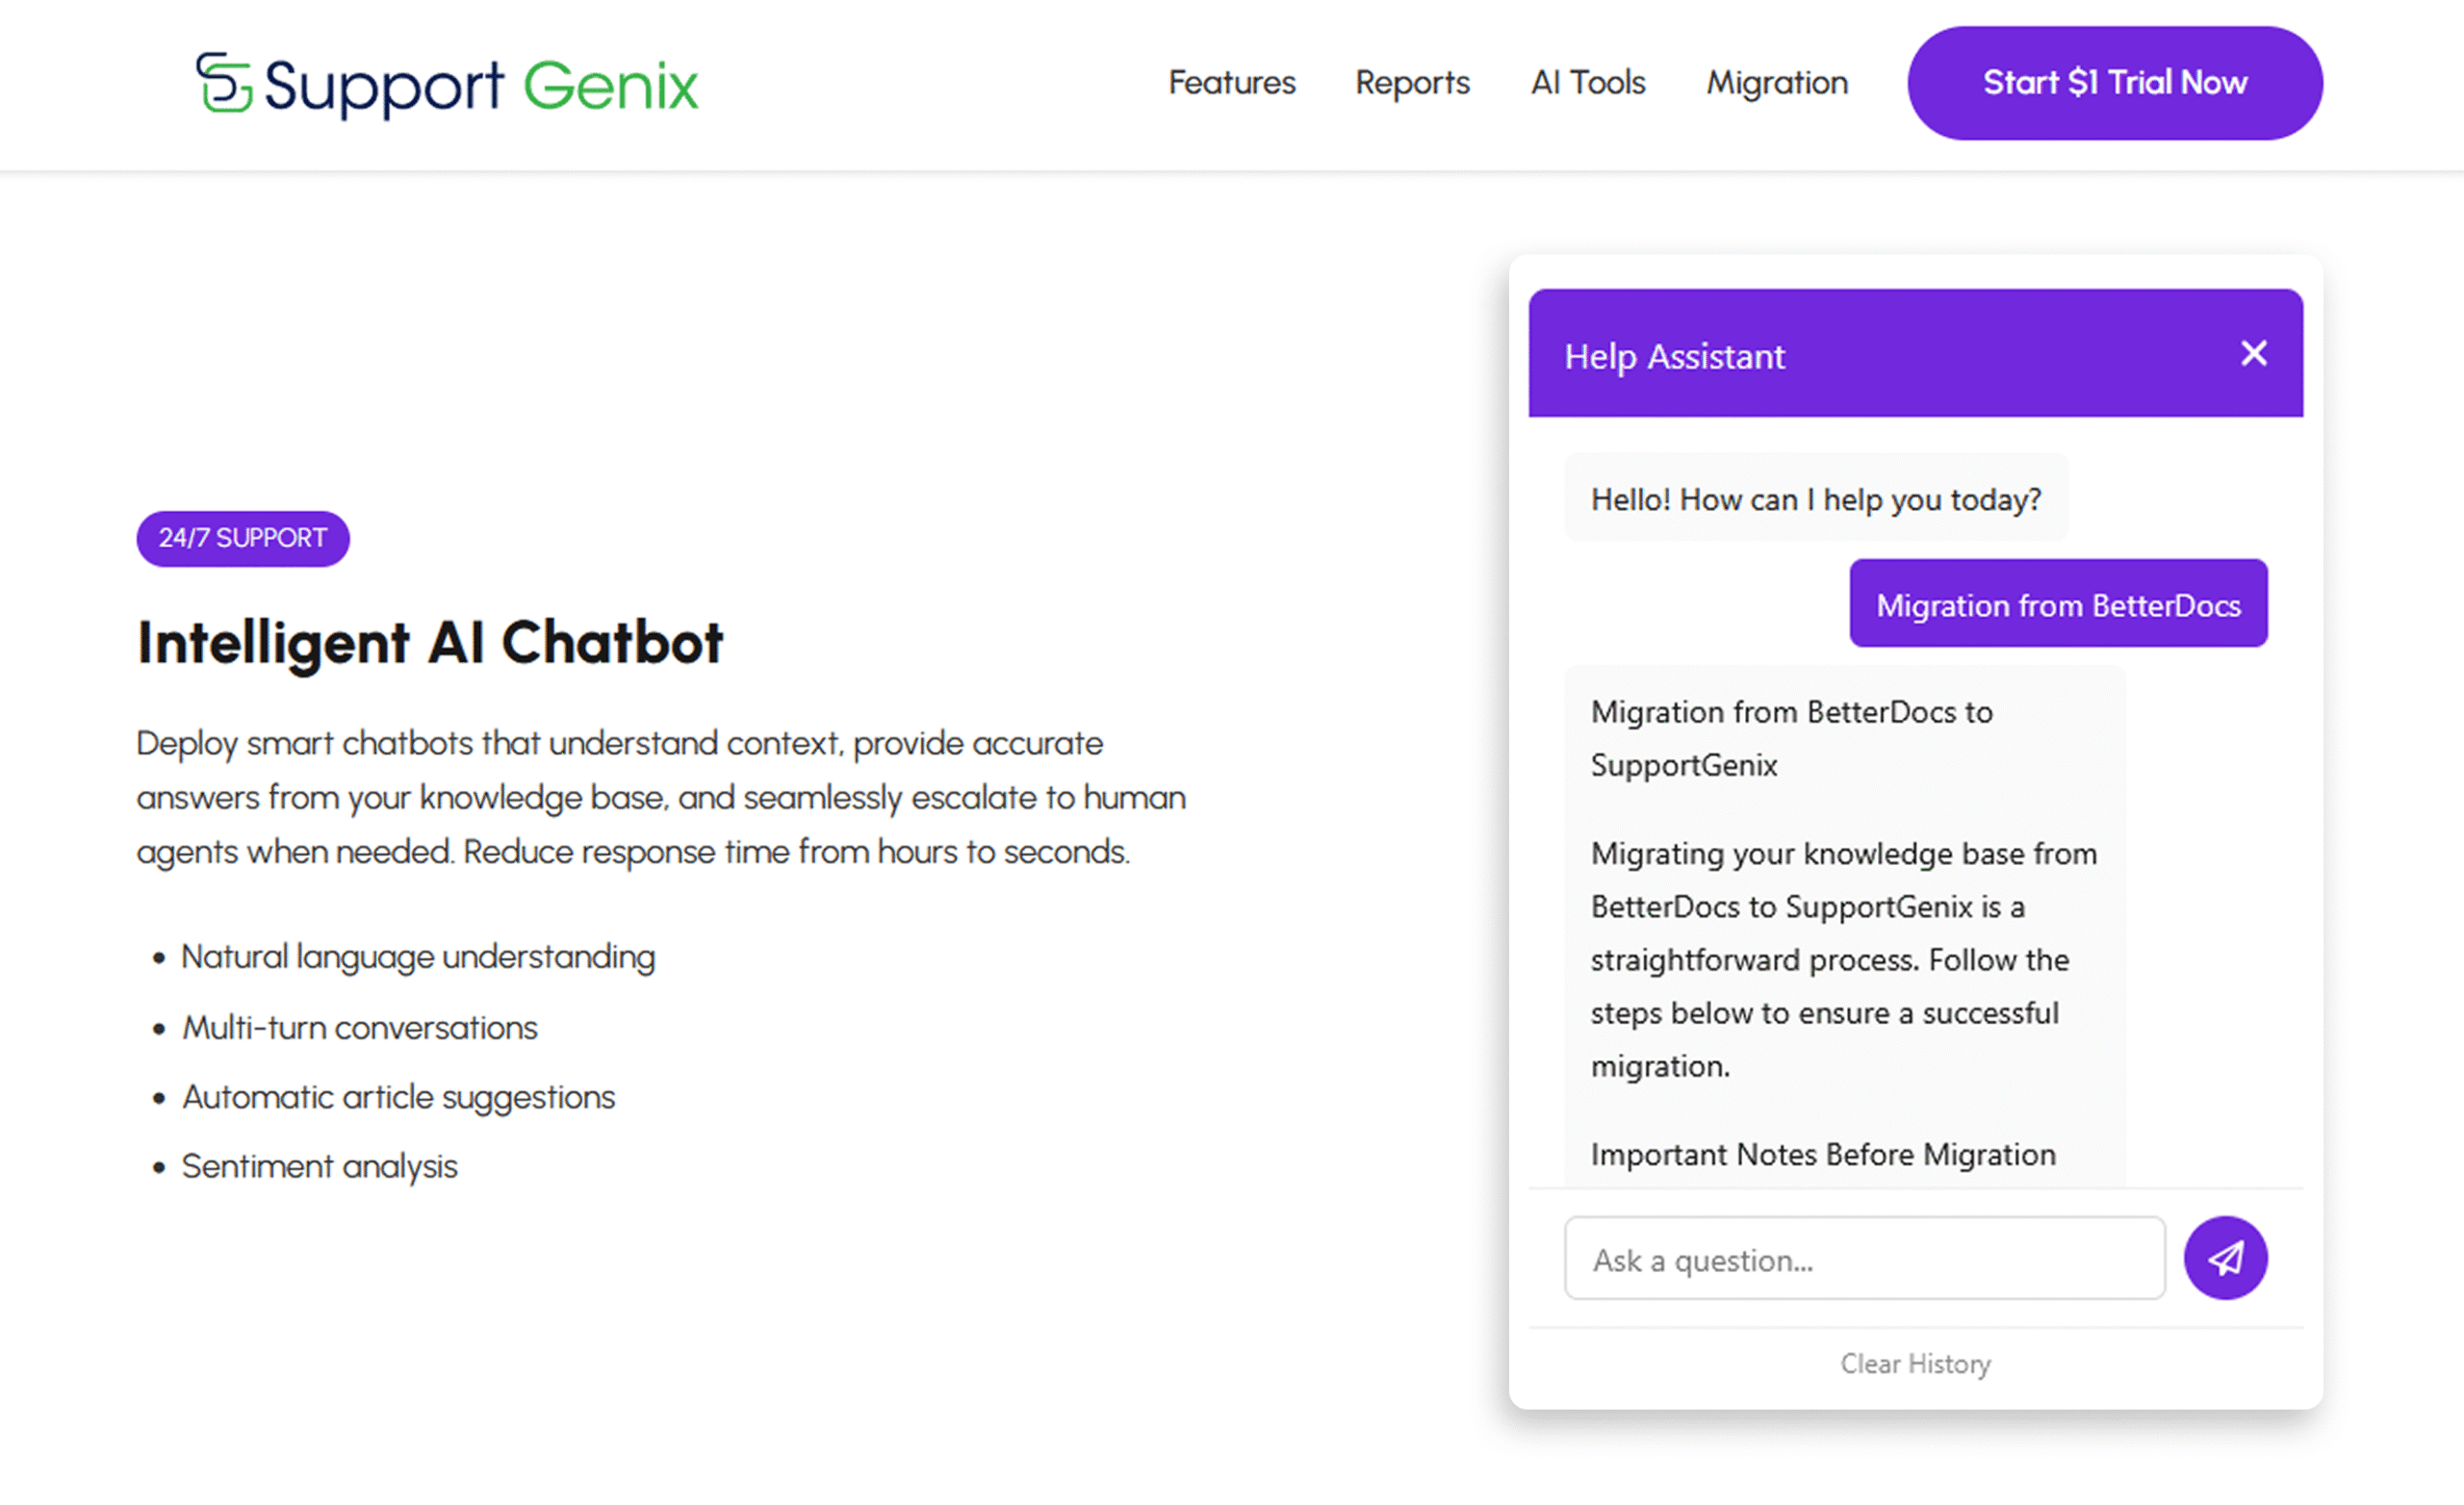
Where to Find AI Chatbot
Once configured, the AI Chatbot will be visible on your site and ready to assist visitors using real-time AI-generated answers.
Last updated on March 15, 2026
Was this article helpful?
Powered by Support Genix